Just like there is an option to copy and files the cells and ranges, there is also the option to copy and paste file names from a certain folder in Excel as well.
In the example below, we will show how to copy the names of certain files names to an Excel file.
Copy File Names in Excel Using Copy Path
The first thing we need to do is determine the folder from which we want to copy and paste file names. We will use a folder in which we described printing an Excel sheet on A4.
We can copy and paste all the files by using CTRL + A on our keyboard, or we can cherry-pick the files by clicking any of the files, then holding CTRL and choosing all other files that we want to get the names of.
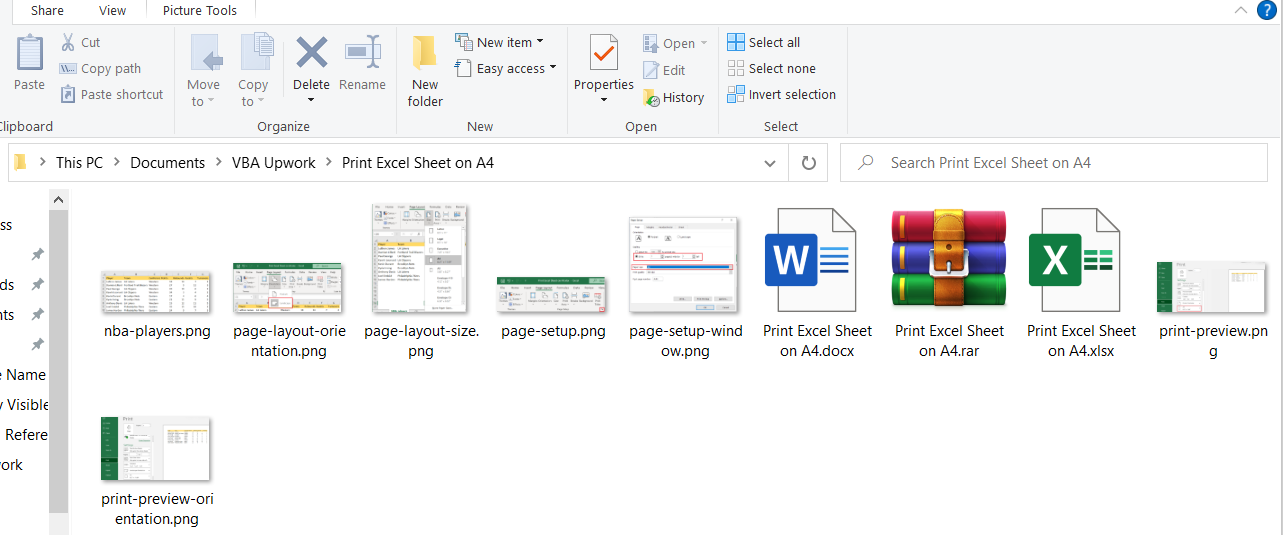
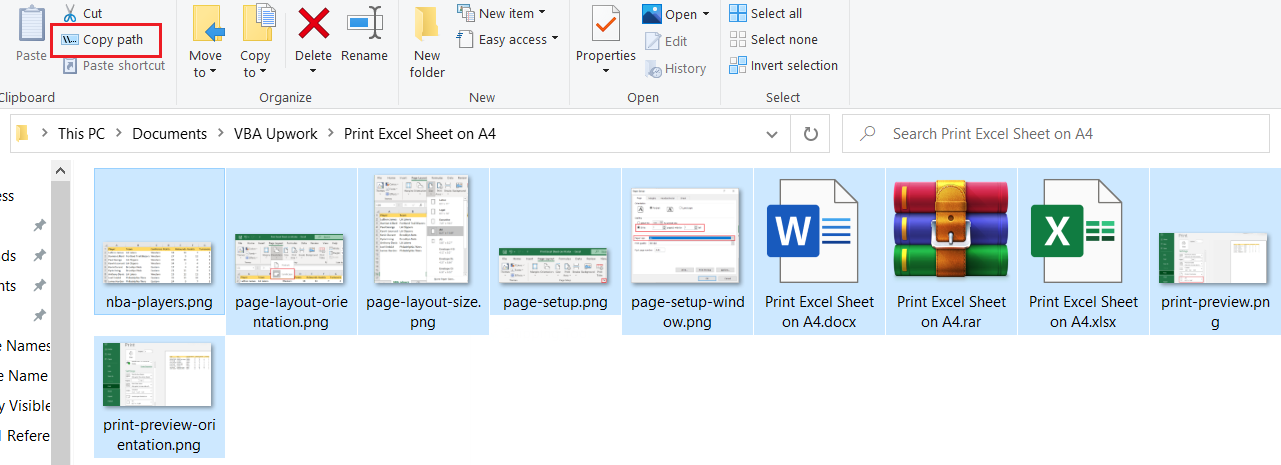
In our case, we will select all the items, and then click on the Copy path icon located under Clipboard:
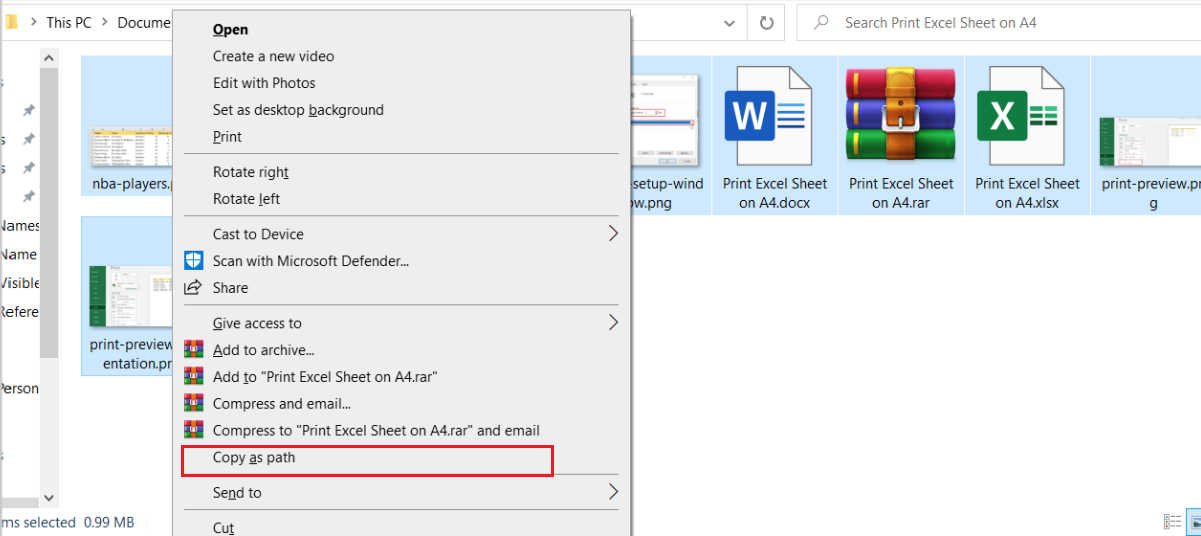
We could have also selected all the files, hold the SHIFT key, and then right-clicked on any of the files and choose Copy as the path:
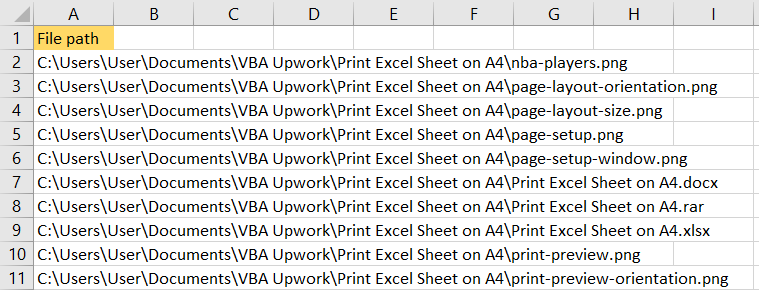
In both cases, the paths and names of all the files in the folder are stored in memory. We will open the Excel file, and simply paste all of them, either by right-clicking on any cell and choosing the Paste option or by positioning to the desired cell and clicking CTRL + P. After we do that, these are the results that we will get:
To extract the file names, we need to replace the file path and leave only the names of the files. We will copy the path and replace it with empty fields:
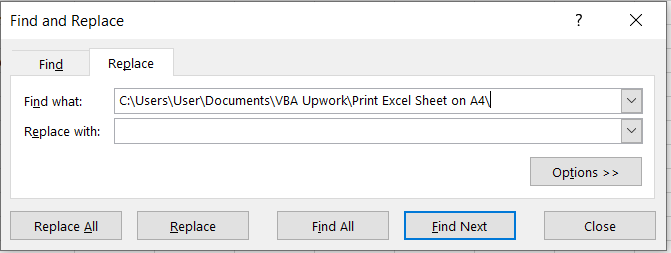
We will choose Replace All option, and then we will get our file names:
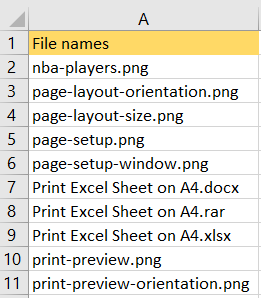
We have also changed the name of the first row, as it does not represent the file path, but rather file names at this point.
Copy File Names in Excel Using Browser
We can also use the browser to copy and paste files of the names. We will go to the folder, and copy the folder location:
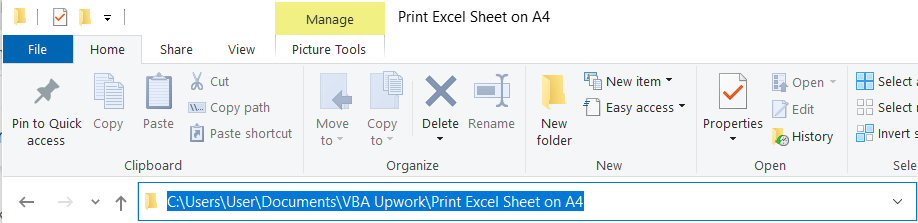
Now we need to open our browser (any browser) and simply paste the location in the address bar:
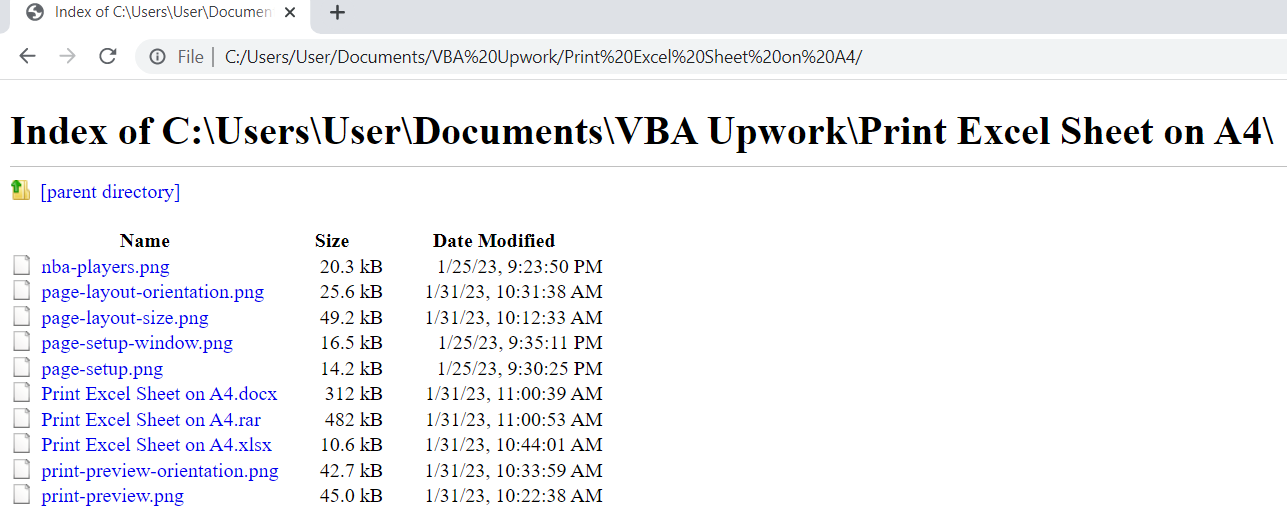
We will have all of our file names listed. We will paste this list to Excel, and it will need some tweaks:
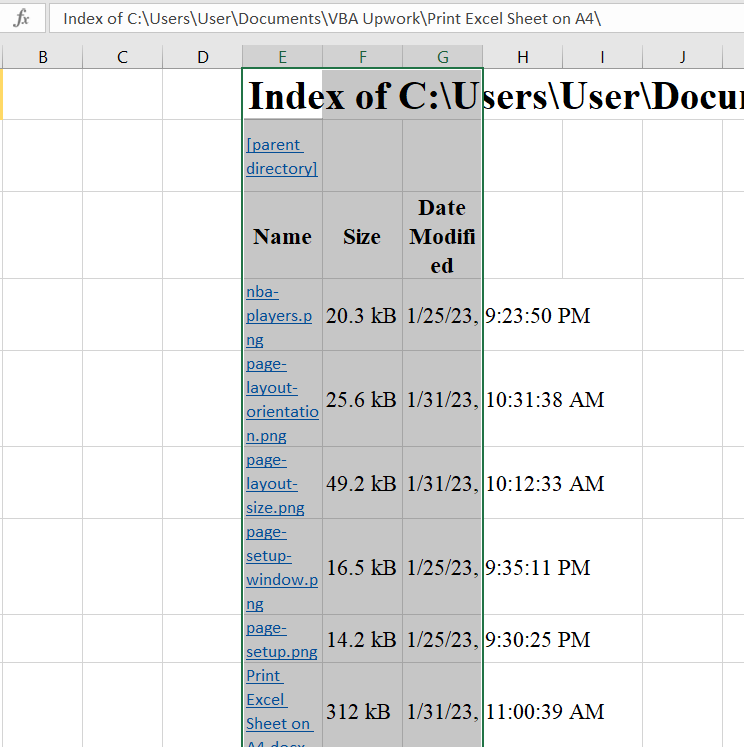
We will delete other data, and then format the list a little bit. In the end, only the file names will remain:

The good thing is that with this approach we have hyperlinks and can access the folder directly.
Copy File Names in Excel Using the Files Function
We can also use functions to extract and copy file names from a folder. A function that is used for this purpose is FILES. This function works only with named ranges.
The first thing that we need to do is copy and paste the location of our file. We will also add the asterisk at the end, for the extraction of all the files from the folder:
|
1 |
C:\Users\User\Documents\VBA Upwork\Print Excel Sheet on A4\* |
We will insert the path in cell E2:

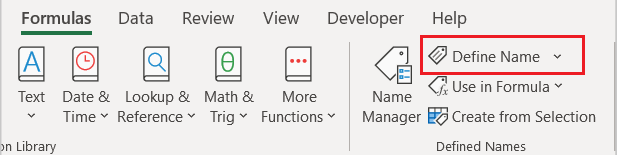
For the next thing, we will name our range. We will do that by going to Formulas >> Defined Names >> Define name:
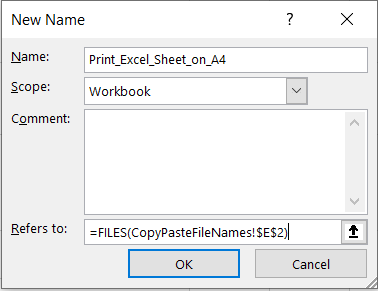
We will first name our file, choose workbook as a scope, and then insert formula FILES and refer to the location of our file:
For the next thing, we will insert the following formula in cell E5:
|
1 |
=IFERROR(INDEX(Print_Excel_Sheet_on_A4,ROW()-5),"") |
And all of the file names will appear:
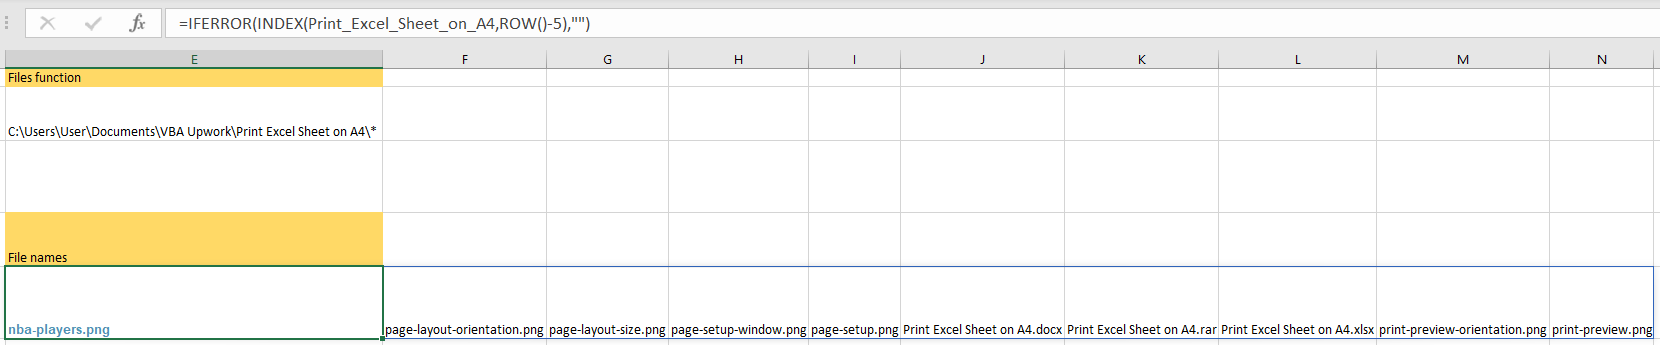
You will notice that the files that appeared are lined up horizontally. That is because Office 365 Excel has automatic fill options incorporated, and will line up our file names automatically.
To reach this goal, we did several things, as follows:
- Copied the name of the folder.
- Named the cell where the folder is located, and used a FILES formula to return the names of all files.
- Used the INDEX function to return the names from the array in serial order by using the output of the ROW and FILES. In our example, ROW number -5 is used, as that is the ROW in which we inserted a formula.
- IFERROR function is the last one used. It makes sure we get empty values if there is some kind of error.