Surely, you have been in a situation where you had to use date type in Excel. Among all the data that you can find, you are guaranteed to find some range of data that has a date in it, whether it is somebody’s birth date, date of expiration, etc.
You can have a lot of problems when you have to input this kind of data. Should months be entered first, or should it be the day? What was the date of the first Friday in January?
For resolving all of these issues, you can create a calendar in Excel.
We will show you how to do it in our next example.
Insert a Calendar from Date Picker
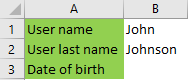
For our example, let us say that we have a simple form in which we want our user to input his name and last name, as well as the date of birth.
It is very important to remember that there are two options for you to create a calendar in Excel. The first way is to do it with the Date Picker options in the Developers tab. However, this option is only available for 32-bit Windows. So, if you have 64-bit Windows, you might as well skip the first part of this instruction.
Excel has its calendar for 32-bit Windows and it is called Microsoft Date and Time Picker Control. To insert it, you have to find and open it in the Developer tab.
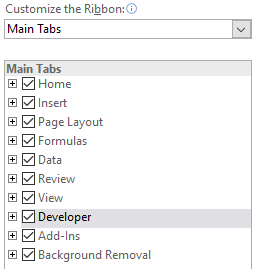
The Developer tab is usually hidden when you open Excel for the first time. You can find it by clicking right anywhere on the ribbon, and then selecting Customize the Ribbon. It will be under the Main tabs, and all you have to do is add it to your ribbon.
Once you have the Developer tab in the ribbon, you go to Controls Group >> Insert and then go to More Controls under ActiveX Controls.
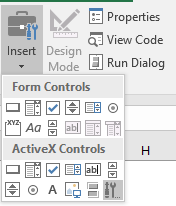
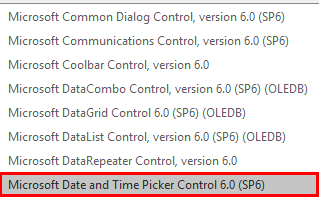
In the pop-up window that appears, you have to find Microsoft Date and Time Picker Control 6.0 (SPG).
For the final part, you have to click on the cell where you want to insert this calendar control and your drop-down calendar control will be inserted in the designated cell.
Insert a Calendar from a Third-Party Resource
Since I have a 64-bit version of Windows, for our example, I need to use third-party resources for inserting the data into the sheet. A fantastic calendar and date picker tool can be found on the webpage: http://samradapps.com/datepicker.
Once you download the file from this page (it will be a zipped file) you have two alternative ways to integrate it into your Excel file:
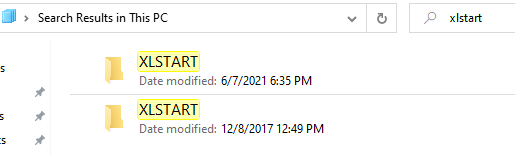
- Put it in your XLSTART folder. This folder location is different for each version of Excel but is generally somewhere under C:\Program Files (x86)\Microsoft Office\ [version] \xlstart
You can simply find this folder by going searching it on your PC (input XLSTART as your search criteria):
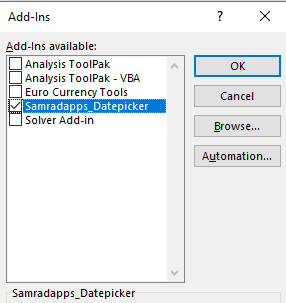
- Open the Excel file, go to File >> Options >> Add-ins >>Go to manage Excel add-ins.
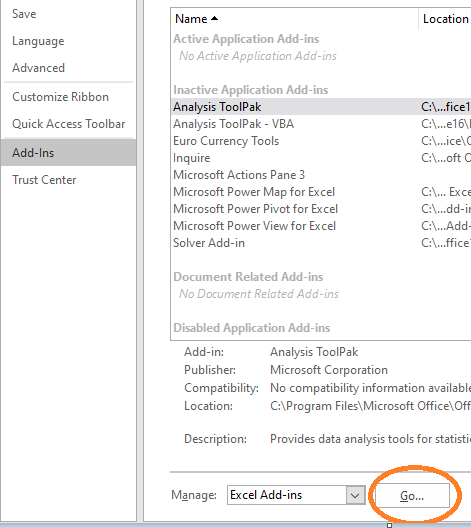
Once you click on the Go button, you will be presented with a pop-up menu from which you need to choose Browse, to find your downloaded file.
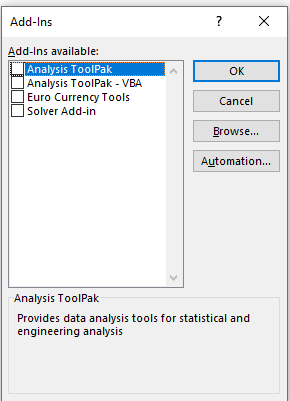
When you find your file, click on it, and it will be presented in your table.
There is a chance that you will have to restart your application to implement these changes. Once you do (if needed) you will see the icon of a Date Picker in a Home tab.
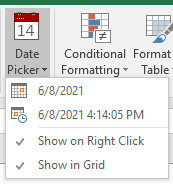
Date Picker can provide us with only a date or with a date and time. We can choose it to be shown on right-click (preferred option) and shown in the grid (also an automatic and preferred option).
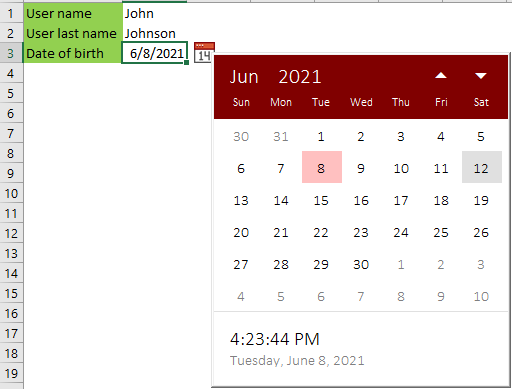
Finally, we will go to our cell B3 and click on the Date Picker icon. It will input today’s date into our cell, but as seen, by right-clicking on this cell, we are provided with a little calendar icon:
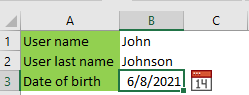
Once we click on this icon, we will have a fantastic calendar to choose our date from.