When we talk about formatting our data in Excel, there is probably no better tool for that than using Excel Slicers. They are very useful and are usually used with Pivot Table and can be used to control multiple of them.
In the example below, we will show how to format Slicers to our liking and preferences.
Format Slicers
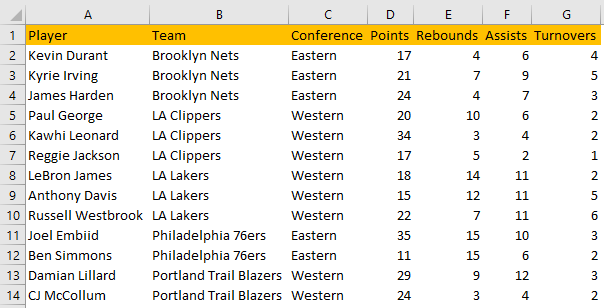
For our example, we will use a table with NBA players, along with their statistics for several nights that will include points, rebounds, assists, and turnovers:
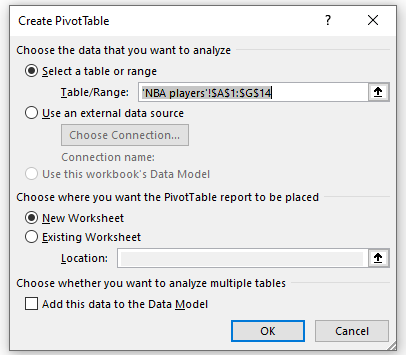
To create a Pivot Table, we will select our data, go to Insert >> Tables >> Pivot Table. On the pop-up window that appears, we will click simply OK, and our table will be created:
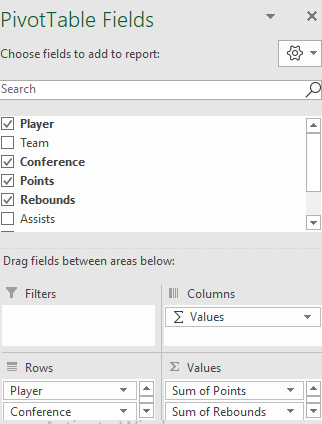
We will simply call our table Pivot Table. In our Rows fields, we will put Player and Conference, and in our Values Field, we will insert Points and Rebounds:
To create a Slicer, we will click anywhere on our table, go to the PivotTable Analyze tab >> Filter >> Insert Slicer:
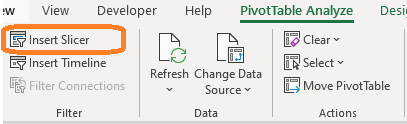
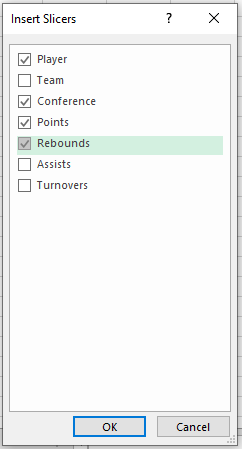
When we click on this icon, we will be pointed to the Slicer window, from which we can choose all columns that can be filtered. We will choose Player, Conference, Points, and Assists:
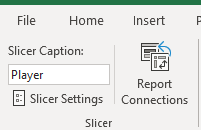
When we do that, we will have our Slicers created. For all formatting options, we will be using the Slicer tab that appears once we click on any Slicer.
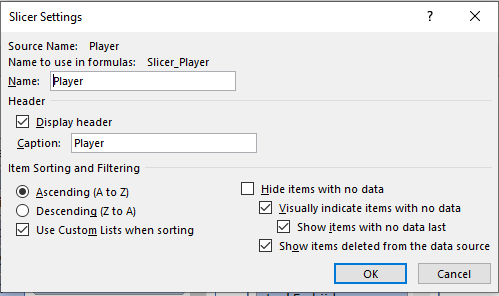
We will click on Points slicer and then go to the Slicer tab >> Slicer Settings:
We can use them for multiple options such as choosing to use ascending or descending order:
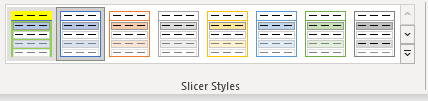
A place in which we can really play with our Slicer formatting is located to the right, and it is on the sub-tab called Slicer Styles:
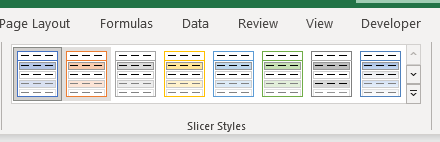
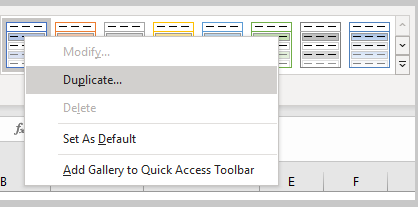
We can use any of the predefined styles, but we can also modify it by right- clicking on any of the existing styles, and then clicking Duplicate:
On a pop-up window that appears, we will first change the name of our Slicer (we will call it simply New_Style):
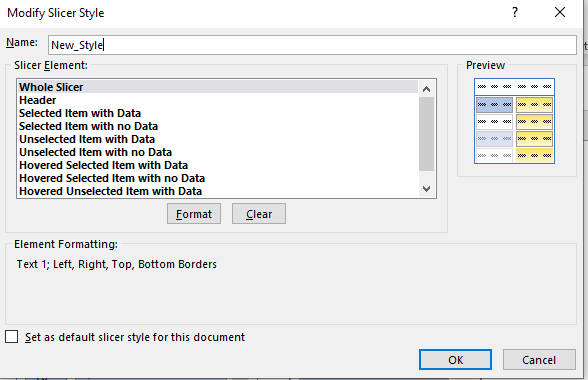
You can see the Slicer Element dropdown located in the middle of the window. Beneath it, we can see that we have Format and Clear options for every Element. We can see the description of the Element that is being formatted, and the option to set this style as default.
On the right side of the windowwe have the , preview for our new style.
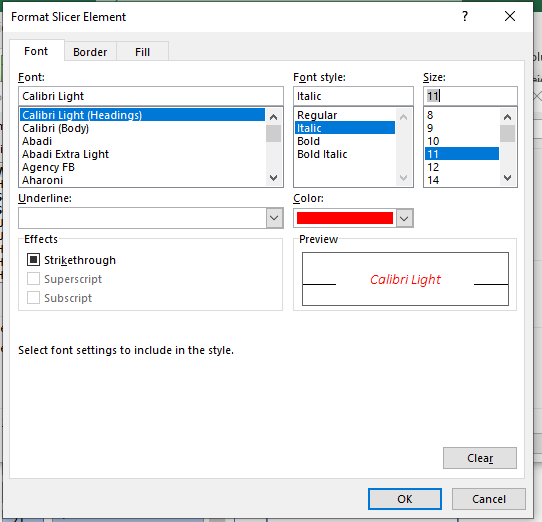
We will now choose Whole Slicer as the element that will be changed and click on Format. We will be presented with a window in which we can choose Font, Border, and Fill:
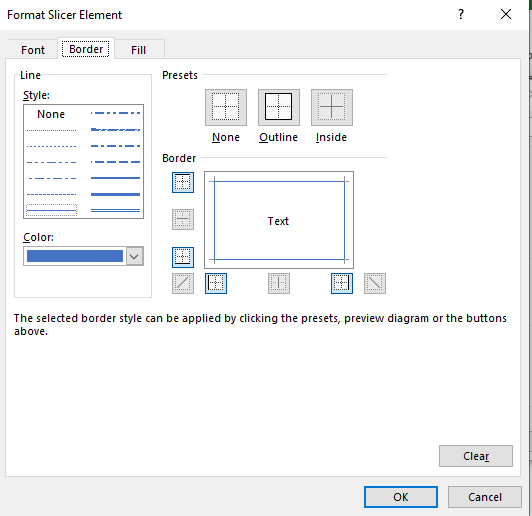
We will choose the following options in the Font tab (just for fun):
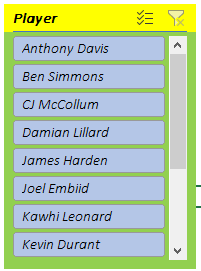
We will choose none for borders, green for fill, and click OK. We will then and format our Header to have a yellow fill. When we click OK, we will have our new Slicer Style:
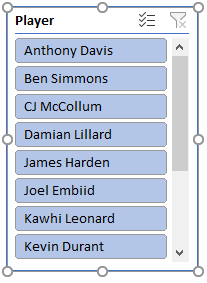
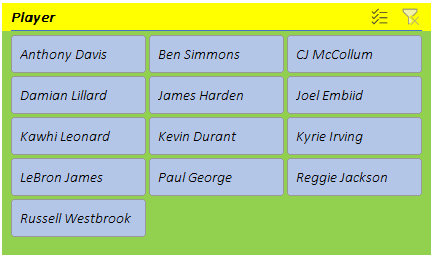
We will click on desired Slicer (Player), which currently looks like this:
And will click to choose our new style. This is how our Slicer looks like now:
Format Slicers Buttons
In the same tab that we were on (Slicer tab), we can also choose to format our Slicer Buttons:
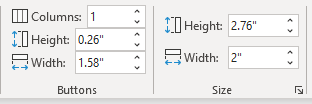
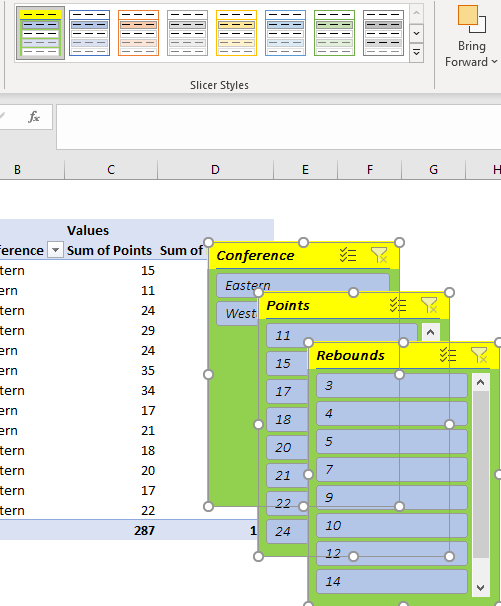
In here, we will choose that our Player Slicer appears in three columns, that has a Height of 0.4″ and a Width of 1.4″. Our Slicer now looks like this:
It is worth mentioning that we can drag and resize our Slicer with the mouse as well. This way, the Buttons will be resized automatically.
For the final note, if we would want to apply our style to all the other Slicers that we created, we would have to simply select them, and apply our newly created style: