Let’s say that you want to create a table in order to add new images. The problem is that the images won’t behave in the way you imagined. If you hide or filter a cell, the pictures won’t hide as well. They will overlap.
I’ll show you how you can insert a picture properly so they will hide together with a cell.
Insert a picture into an Excel cell
In order to insert a picture into an Excel cell do the following.
- Go to Insert >> Illustration >> Pictures.

- Choose all images you want to add

- After you insert images, all of them become selected by default. If you deselected them, you can click each of them while holding the Shift
- When you have all your images selected, right-click them and choose Format Object….

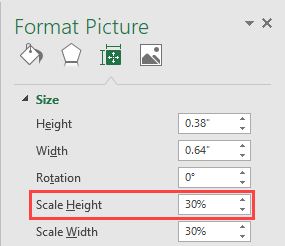
- The Format Picture field will appear to the right. Choose Size & Properties >> Size and change Scale Height to make images smaller.

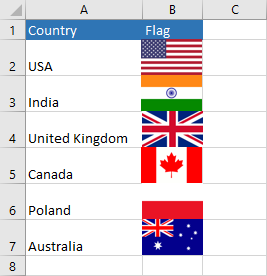
- Insert images into a table. Just make cells big enough to fit the images. While you drag the images, hold down the Alt They will snap to the edge of a cell.

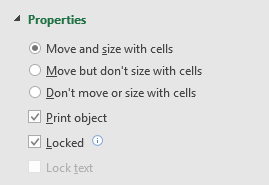
- Click on each image (while holding the Shift key), then right-click and click Format Object… one more time. Go to Size & Properties and choose Properties. Now, click Move and size with cells.

- Select all cells in our table (A1:B7) and use the Ctrl + L keyboard Check My table has headers and click OK.
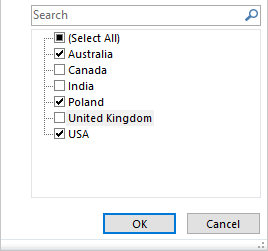
- Click the triangle icon next to Country and filter out some of them.

- Now, when you look at the table, the images show properly. And if you drag them, you can see that there is nothing under them.
