If you want to add some visual appeal to your worksheet, you can format it, so it becomes not so boring. But there is one more thing you can do, to make it even better. You can add a logo or any other picture you want.
Excel doesn’t support only picture files. It also supports shapes, clip art, smart art, and screenshots. It supports many graphical formats, both vector, and raster, so unless you use a very obscure one, you are good to go.

Insert a logo as a picture
The first way, you can insert a logo, is by clicking a cell and navigating to Insert >> Illustrations >> Pictures and choosing an image to insert.
Resize the picture, if you want it to perfectly fit in a cell or cells.
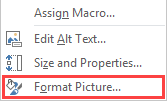
If you want your picture to move or resize with the cell, you can right-click the picture and select Format Picture.
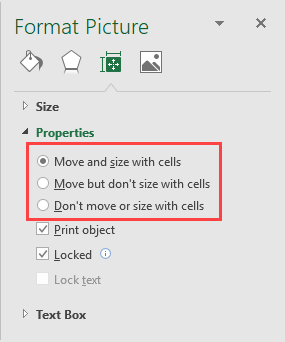
Choose Size & Properties and click one of the three options.
Insert the logo into the header
If you want to add a logo to a header, proceed with the following steps.
Navigate to Insert >> Text and click Header & Footer.
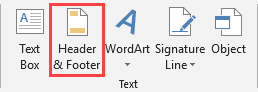
It’s going to enable headers and footers.
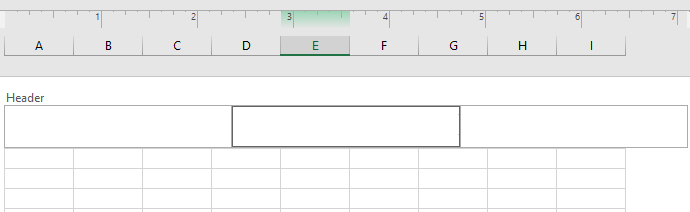
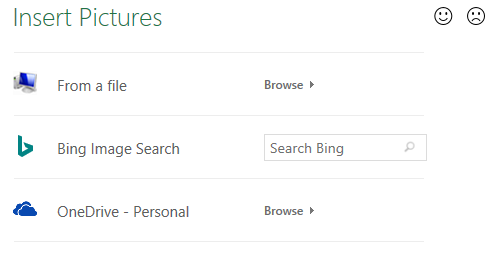
Inside the Ribbon, navigate to Header & Footer Tools >> Design >> Header & Footer elements >> Picture.
From the window that just appeared, click from where you want to add a picture.
After you choose a picture, you are going to notice, that there is text inside the header.
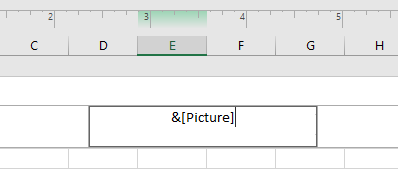
If you click outside the header, the picture will be inserted.
If it’s too big, you can click the header and navigate to Header & Footer Tools >> Design >> Header & Footer Elements >> Format Picture and change the scale of the picture.
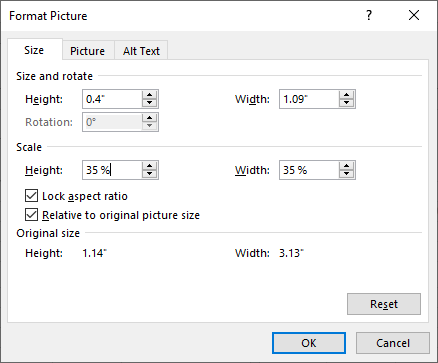
Now, the logo looks much better than before.