Sometimes we may need to increase the size of the checkboxes in Excel to increase their visibility and accessibility. In this tutorial, we look at different ways of resizing Excel checkboxes.
How to resize a checkbox in Excel
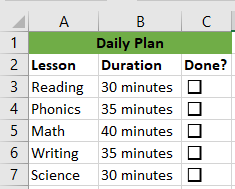
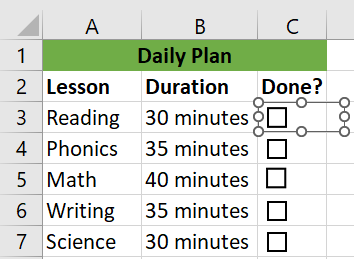
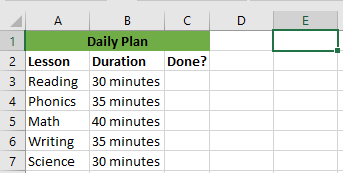
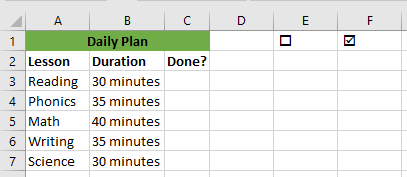
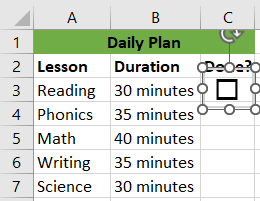
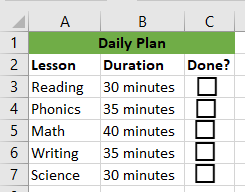
We use the following dataset in our illustration:
Method 1: Zoom in on the worksheet
People who have a problem with eyesight would want the checkboxes to be bigger for better visibility. Other people may have a problem checking the checkboxes because of their tiny default size. Increasing the size of the checkboxes can make life easier for such people.
This method involves increasing the zoom percentage at which the worksheet is viewed. The actual dimensions of the checkboxes do not increase but the checkboxes are made to appear bigger.
We use the steps below:
- Open the worksheet that contains the dataset with checkboxes.
- Click the Zoom slider in the Zoom control on the right end of the status bar.

- Slide to the zoom percentage that you like. You can click – or + to zoom in in gradual increments of 10%. In our example, we slid to a zoom percentage of 300%.

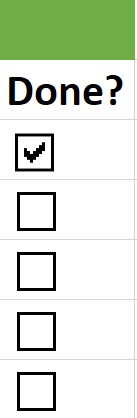
The checkboxes appear bigger and can be accessed easily:
Method 2: Use the Format Control dialog box
This method does not increase the actual dimensions of the checkbox. It only increases the checkbox’s check area. The increased check area makes it easy to check the checkbox without necessarily having to click inside the checkbox.
We use the steps below:
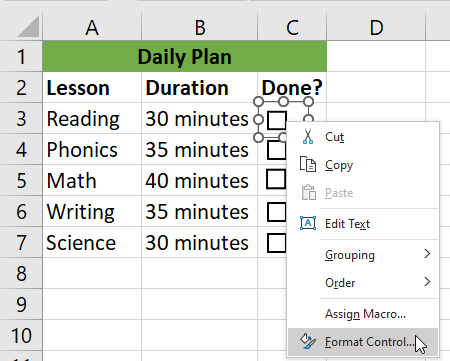
- Right-click the checkbox and choose Format Control on the shortcut menu.
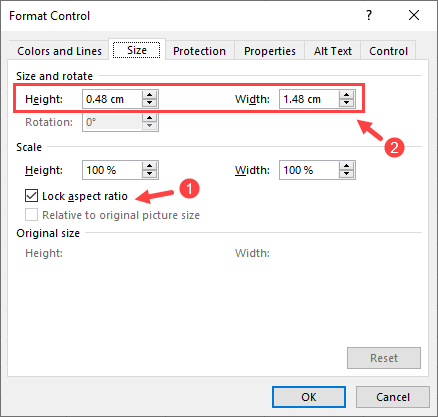
In the Format Control dialog box, check the Lock aspect ratio checkbox. This ensures that the height and width of the checkbox are increased proportionally.
Resize the checkbox using the Height and Width spin boxes and click OK.
The checkbox check area is increased:
This means that we can click anywhere in the increased check area to check the checkbox. This can be very helpful for people who have arthritis or other conditions that make it difficult for them to accurately position mouse pointers in the worksheet
Method 3: Use Excel VBA
We can use Excel VBA to make symbols that can be resized behave like checkboxes.
We first need to insert symbols that resemble checkboxes in the worksheet that contains the dataset.
Insert checkbox symbols
We use the following steps:
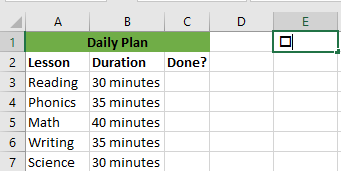
- Select a cell that is outside your dataset. In this case, we select cell E1.
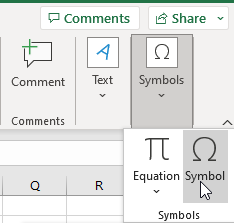
- Click Insert >> Symbols >> Symbols.
- In the Symbol dialog box, choose Wingdings in the Font drop-down list.
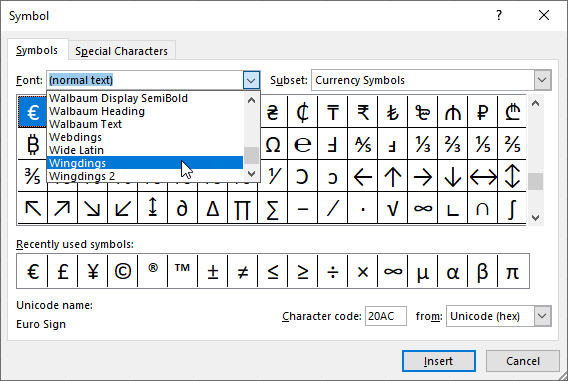
- Scroll down the Symbols list and select the symbol that resembles a blank checkbox and click Insert.
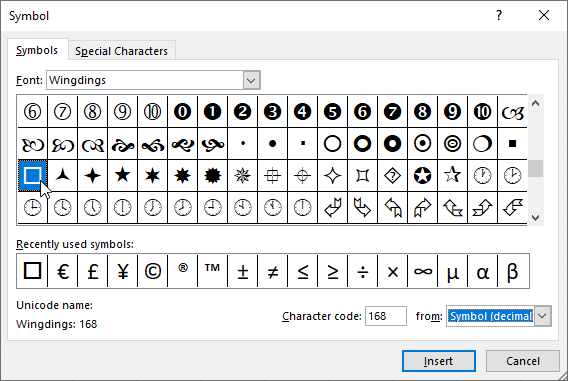
The symbol is placed in cell E1:
- Click the Close button to close the Symbols dialog box.
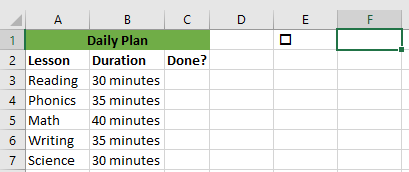
- Select cell F.
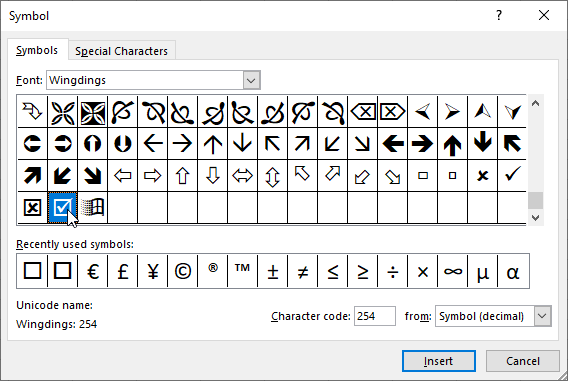
- Open the Symbols dialog box as explained previously.
- Scroll down the Symbols list and select the symbol that resembles a checked checkbox. Click Insert.
- Click the Close button to close the Symbol dialog box.
The symbol of a checked checkbox is placed in cell F1.
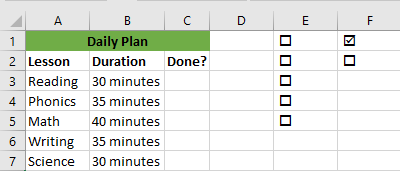
- Select cell E1 which contains the blank checkbox symbol and copy the symbol to four more cells by dragging down the fill handle to cell E5.

- Copy a blank checkbox symbol to cell F2.
Create Excel VBA Code
We use the steps below:
- In the active worksheet that contains the dataset, press Alt + F11 to open the Visual Basic Editor.
- Click Insert >> Module to insert a module.
- Copy the following procedures and paste them into the module. Remember to customize them to your requirements.
|
1 2 3 4 5 6 7 8 9 10 11 12 13 14 15 16 17 18 19 20 21 22 |
Sub resizeCheckbox(ByRef indexVal As String) If Range("E" & indexVal).Value = Range("F1").Value Then Range("E" & indexVal).Value = Range("F2").Value Else Range("E" & indexVal).Value = Range("F1").Value End If End Sub Sub checkBox1() Call resizeCheckbox(1) End Sub Sub checkBox2() Call resizeCheckbox(2) End Sub Sub checkBox3() Call resizeCheckbox(3) End Sub Sub checkBox4() Call resizeCheckbox(4) End Sub Sub checkBox5() Call resizeCheckbox(5) End Sub |
- Save the procedures and save the workbook as a Macro-Enabled Workbook.
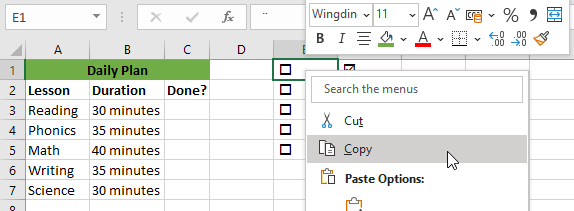
- Right-click cell E1 and choose Copy on the shortcut menu.
- Right-click cell C3 and choose Linked Picture on the Paste Special flyout menu.

- Use the resizing handles to resize the symbol.
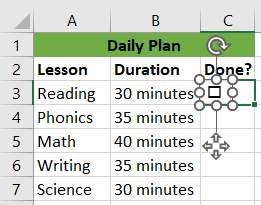
We have resized the symbol:
- Click Picture Format >> Size >> Crop >> Crop.
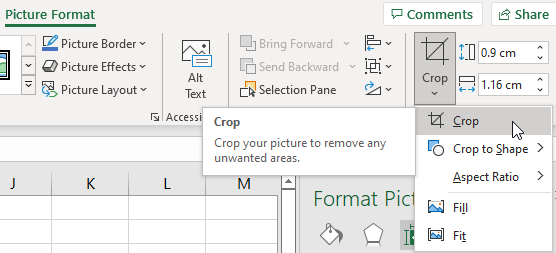
- Remove unwanted areas from the linked picture.
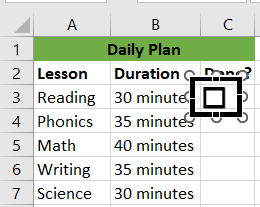
The symbol with the unwanted area removed appears below:
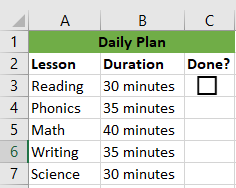
Repeat steps 5 to 8 to copy the checkboxes in range E2:E5 to range C4:C7.
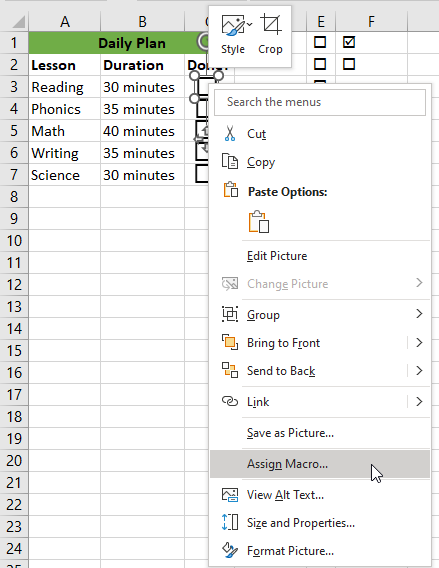
- Right-click the checkbox symbol in cell C3 and choose Assign Macro from the shortcut menu.
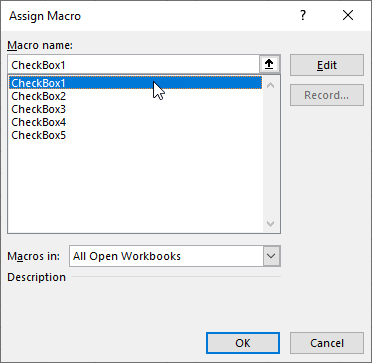
- In the Assign Macro dialog box that appears, select CheckBox1 in the Macro name box and click OK.
- Repeat steps 10 and 11 to assign the remaining macros to the other checkboxes.
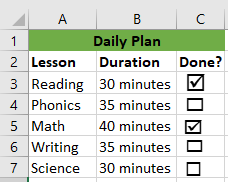
- Test the checkboxes and see that they work as intended.
Conclusion
Sometimes we are required to increase the size of the checkboxes in Excel to increase their visibility and accessibility. In this tutorial, we looked at different ways of resizing checkboxes in Excel.