We zoom in on an Excel chart to get its close-up view. The magnification of the chart is increased and this improves the visibility of its values.
In this tutorial, we explore different Zoom methods that we can use to increase the magnification of Excel charts.
Methods of zooming in on Excel charts
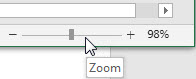
Method 1: Use the Zoom Slider
We use the Zoom Slider to increase the magnification of an Excel chart. This control is located in the bottom right corner of the Excel Window.
To apply the Zoom Slider, we use the following steps:
- Click the Zoom Slider control.
- Drag the slider bar to the right to the desired location that corresponds to the desired magnification percentage. Alternatively, we can click Zoom In (+) button to increase the magnification in gradual increments of 10%.
An alternative way of using the Zoom Slider control:
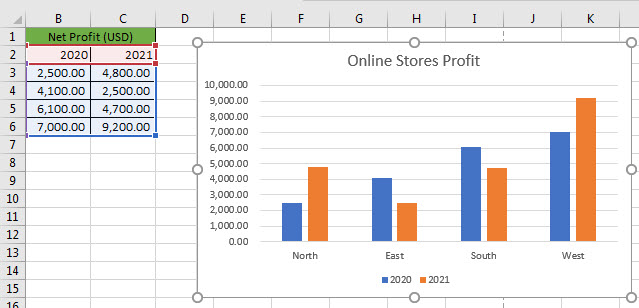
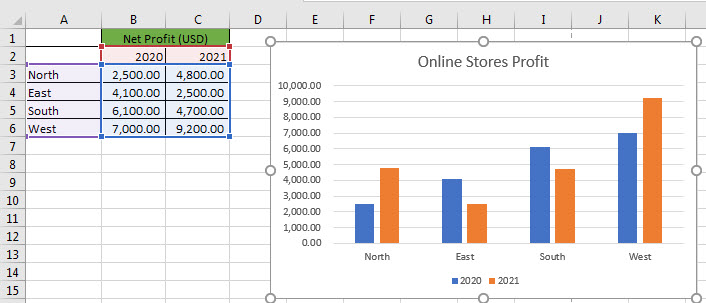
- Select the Excel chart that we want to zoom in on. As in the example below:
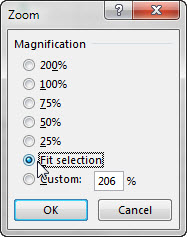
- Click on the Zoom level percentage button to open the Zoom dialog box.

- Select Fit selection in the Zoom dialog box and click OK.
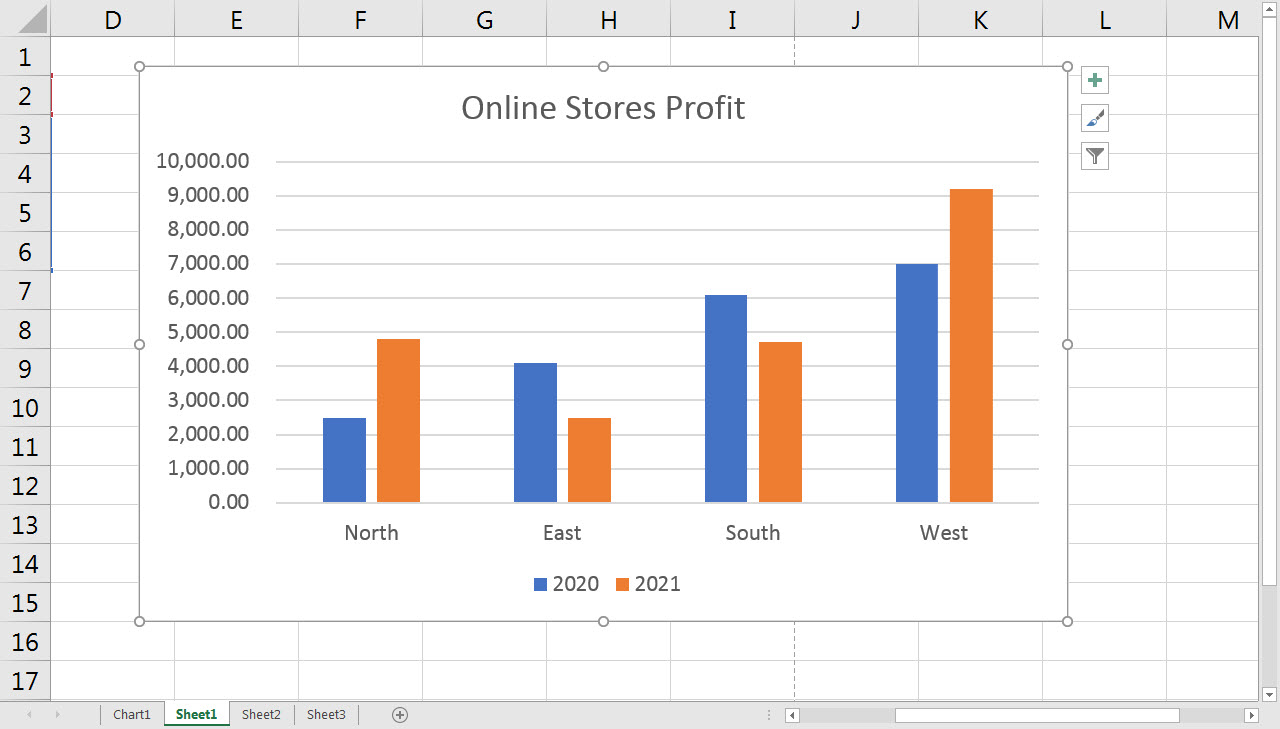
The chart is magnified to fit in the Excel Window.
Method 2: Use View Tab on Excel Ribbon
On the View Tab click Zoom to open the Zoom dialog box.
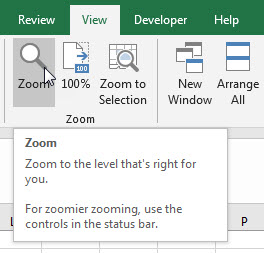
The Zoom dialog box pops up. Select the desired magnification percentage in the Zoom dialog box and click OK.

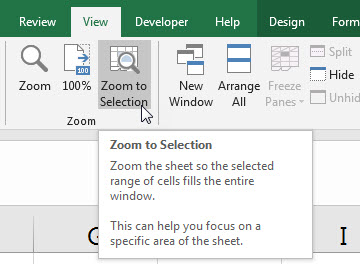
We can use the Zoom to Selection command to fit the chart in the Excel Window. We first of all need to select the chart and then click the Zoom to selection button.
Method 3: Use Ctrl and scroll wheel
In this method, we hold down the Ctrl key on the keyboard while scrolling the wheel up. This increases the magnification of the chart by increments of 15%.
Method 4: Use Zoom on roll with IntelliMouse
If we need to frequently adjust the zoom level of charts, we can use the Zoom on roll with IntelliMouse option. This option allows us to use the mouse scroll wheel to increase the magnification of charts without necessarily having to hold down the Ctrl key on the keyboard.
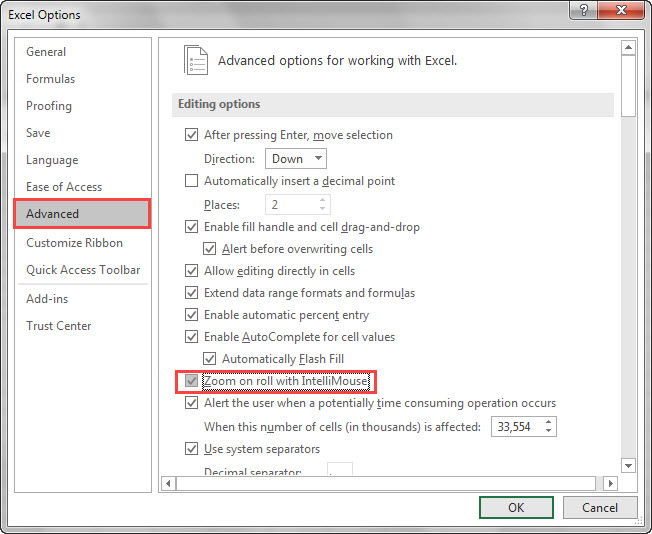
Because this option is disabled in Excel by default we first have to enable it by using the steps below:
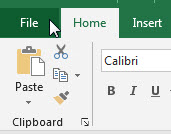
- Select File.
- Select Options on the sidebar.

- Select Advanced in the left-hand panel of the Excel Options dialog box and select Zoom on roll with IntelliMouse option under the Editing Options section and click OK.
Once the option is activated, we can scroll the wheel up to increase the magnification of the charts.
Method 5: Use Keyboard Shortcut
We can use the keyboard shortcut Ctrl + Plus key on the numeric keypad to zoom in. This shortcut zooms in by increments of 10%.
This method increases the magnification of the sheet that contains the chart. Ensure that the chart is deselected before applying the shortcut.
Method 6: Move the embedded chart to the chart sheet
Charts that are embedded in worksheets tend to be smaller than those in chart sheets. We can move our embedded chart to a chart sheet so that it becomes bigger.
We use the following steps to move the embedded chart:
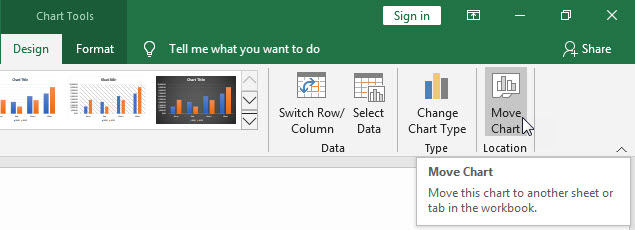
- Select the embedded chart as in the example below.
- Click Chart Tools >> Design >> Location >> Move Chart to open the Move Chart dialog box.
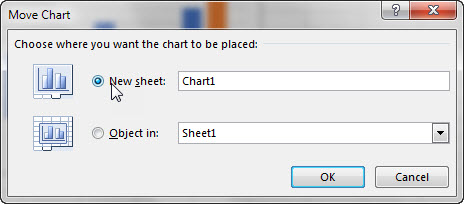
- In the Move Chart dialog box select New sheet and click OK.
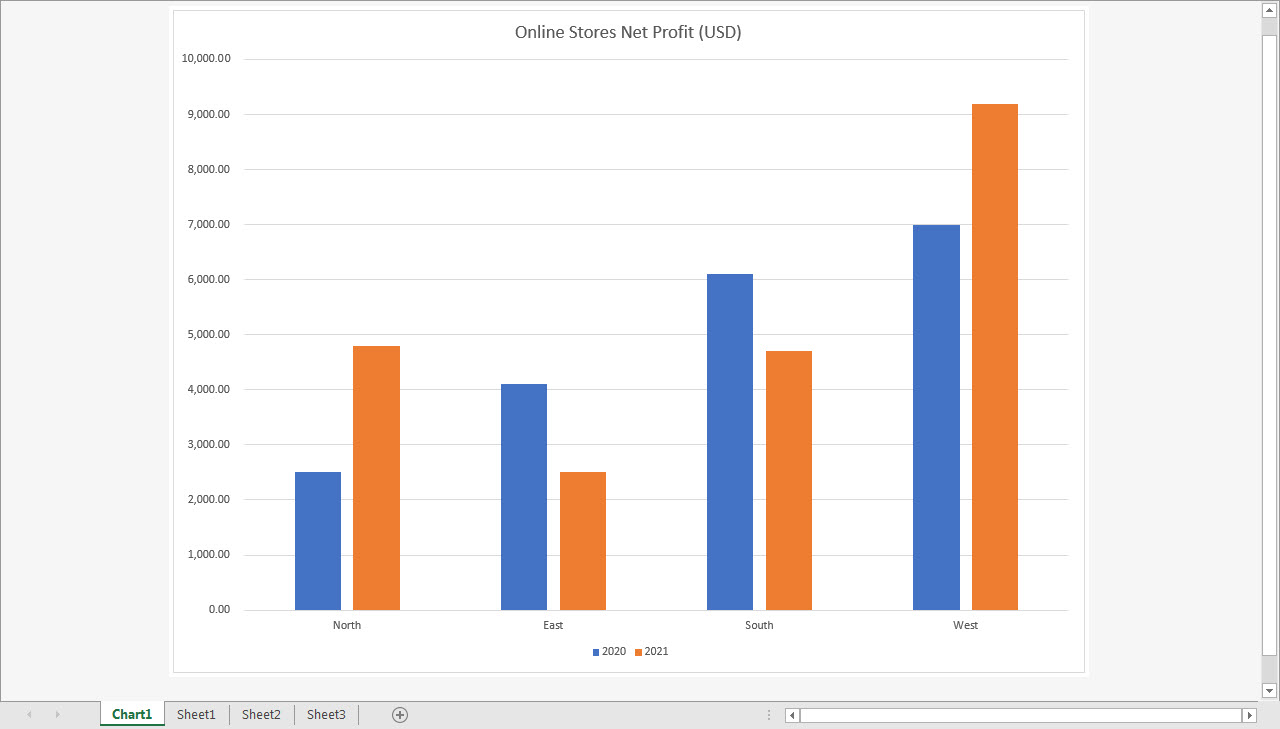
The chart is moved to a chart sheet and it looks much bigger.
Method 7: Use Excel VBA
We have seen so far that the in-built methods of zooming in an increment of 10%-15%. These are relatively large increments. Sometimes we may want more control over the zoom increments. Excel does not have an option for this so we have to resort to Excel VBA.
In Excel VBA we can create a subroutine in our Personal Macro Workbook to increment zoom up by more controlled amounts. We then can assign to it a keyboard shortcut for quick access.
Before we can use the Personal Macro Workbook, we have to activate it using the following steps:
- Click Developer >> Code >> Record Macro.
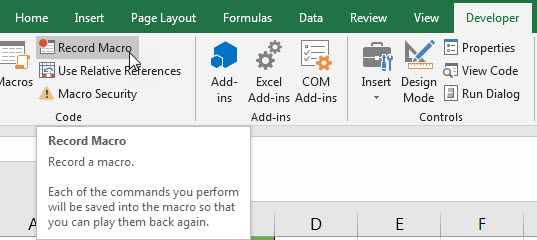
- In the Record Macro dialog box select Personal Macro Workbook in the Store macro in the drop-down list and click OK.

- Since our goal is simply to activate a Macro Personal Workbook, click Developer >> Code >> Stop Recording.

- Save and close the workbook. The Macro Personal Workbook has been activated and it will be opened automatically in the background whenever we start Excel.
- Re-open the Excel workbook that contains the chart.
- Press Alt + F11 to open the Visual Basic Editor.
- In the Project Window right-click the VBAProject (PERSONAL.XLSB) and click Insert >> Module on the shortcut menu.
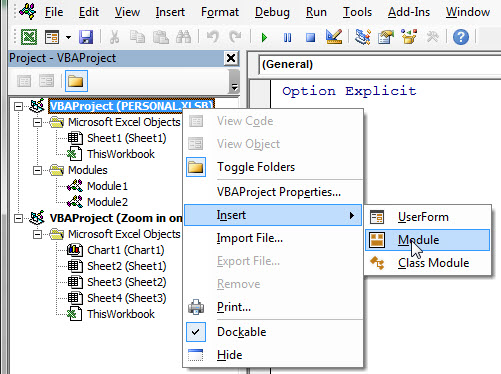
- In the inserted module type in the following procedure:
|
1 2 3 4 5 6 7 8 9 10 11 12 13 14 |
Sub zoomInChart() 'Purpose: Zoom in on the ActiveSheet by a given increment Dim pctIncrement As Integer 'Desired Zoom Increment percentage pctIncrement = 5 'Increase Zoom percentage On Error GoTo MaxZoomReached ActiveWindow.Zoom = ActiveWindow.Zoom + pctIncrement On Error GoTo 0 Exit Sub 'Error Message MaxZoomReached: MsgBox "Cannot zoom in any further", vbExclamation End Sub |
- Press Alt + F11 to switch back to the active worksheet.
- Press Alt + F8 to open the Macro dialog box. Ensure that the PERSONAL.XLSB!zoomInChart is selected and click Options.
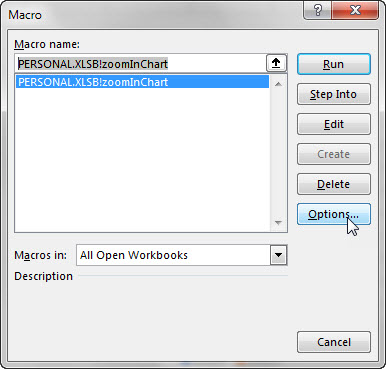
- Assign a keyboard shortcut to the Macro in the Macro Options dialog box and click OK.

Whenever we press the keyboard shortcut we have assigned, in this case, Ctrl + Shift + Z, the Excel chart is zoomed in by an increment of 5% as specified in the procedure.
Conclusion
When we work with Excel charts, there are times when we need to zoom in on the charts for a close-up view.
In this tutorial, we have explored several zoom methods that we can use to zoom in on Excel charts. They include using the Zoom Slider control, using the scroll wheel, using the keyboard shortcut, moving embedded chart to a chart sheet, using the Zoom buttons on the View tab, and using the Excel VBA.