We covered the TRANSPOSE function earlier. This is an Excel formula that copies the text that is either horizontal or vertical and pastes it in the other direction.
We also mentioned CONCATENATE function is the one that helps you unite two or more strings together.
We can use these two functions together to achieve great results. We will show how to do it in the example below.
Transpose and Concatenate Together
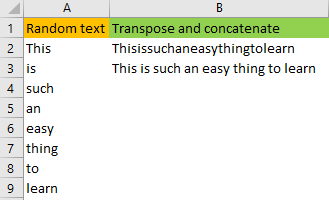
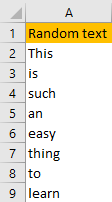
For our example, we will take the vertical text in the picture below, then we will use TRANSPOSE to show it horizontally, and then CONCATENATE to join this text together:
We need to do this in a couple of steps.
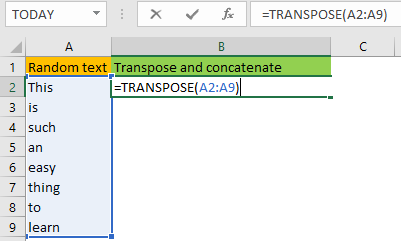
First things first, we will input the TRANSPOSE function in cell B2 and will choose our range (A2:A9).
Our formula will be:
|
1 |
TRANSPOSE(A2:A9): |
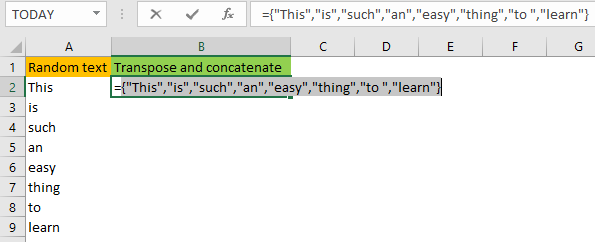
We will not press ENTER, but rather press F9 on our keyboard. This will convert our existing formula into the values:
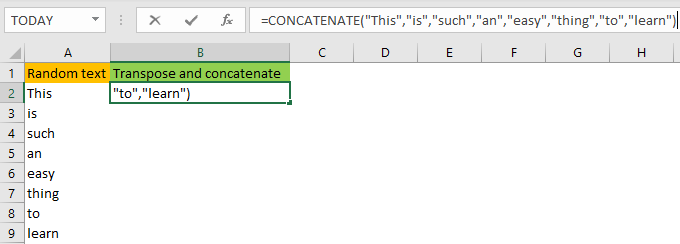
Now, this looks more like something that we want to achieve. We will now input our CONCATENATE formula in front of our curly bracket and replace the curly bracket with the standard one- “(“.
We will replace the curly bracket in the end as well, and finally will have our formula:
|
1 |
=CONCATENATE("This","is","such","an","easy","thing","to","learn"): |
When we press ENTER, we will have the following results:
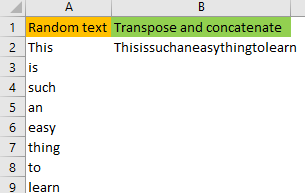
This does not look as good as we want, as we want every word to be separated by blank space.
Transpose and Concatenate Together and Adding Characters
It is easy to assume that we do not need to adjust our formula in a huge way to achieve the results that we want.
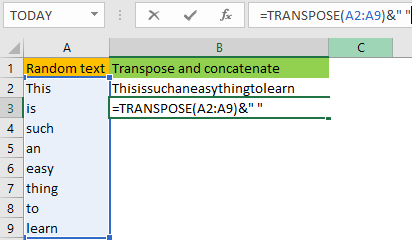
The additional step that is needed is done in the first part of the process. We will input the following formula in cell B3:
|
1 |
=TRANSPOSE(A2:A9)&" " |
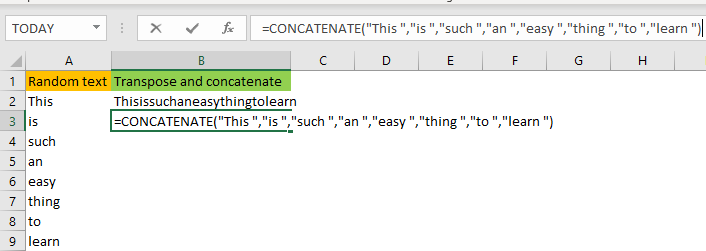
The rest of the process is pretty much the same. We will press F9, then add the CONCATENATE function and swap the curly brackets with standard ones, which will get us the following result:
|
1 |
=CONCATENATE("This ","is ","such ","an ","easy ","thing ","to ","learn ") |
You will notice that there is a space after every word now. When we press ENTER, we will have the desired results: