In the previous lesson, I presented a few ways to select cells and ranges. This time, I will show you a few methods for selecting columns and rows.
Selecting with mouse
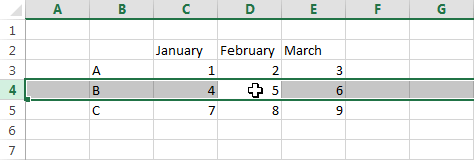
To select multiple columns at once, click one of the letters at the top of the worksheet area and without releasing the mouse button, drag it to the right or left. In the same way, you can also select rows.

Selecting non-adjacent rows or columns
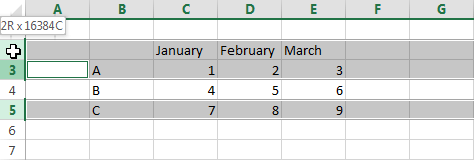
If you want to select multiple non-adjacent rows, you can do this by clicking the rows’ numbers while holding down the Ctrl key.

Using keyboard shortcuts to select rows and columns
You can also select rows or columns by using the keyboard shortcuts. Use Shift + Space to select the entire row and Ctrl + Space to select the entire column.

Excel 365 Update
- Select All Visible Cells: Excel 365 offers the ability to quickly select all visible cells within the current window. This can be helpful when working with large datasets that extend beyond the screen’s viewable area.
- Select Slicers and Timelines: While not directly related to selecting rows and columns, mentioning that slicers and timelines (introduced in Excel 2013) can be used to filter and navigate through data sets. This indirectly affects selection as you can visually filter down to specific data points.
- Improved Keyboard Shortcuts: While core shortcuts like
Shift + SpaceandCtrl + Spacefor selecting entire rows and columns remain unchanged, Excel 365 offers additional keyboard shortcuts for quicker navigation and selection. Refer to official Microsoft documentation for a comprehensive list: https://support.microsoft.com/en-gb/office/keyboard-shortcuts-in-excel-1798d9d5-842a-42b8-9c99-9b7213f0040f
