There are often situations when certain things cannot be done in Excel and must be automated in VBA. Of course, we can always do things manually, but sometimes it is just counter-productive.
In the example below, we will show you how to resolve one of the common issues when working with data- delete empty rows.
Delete Empty Rows in Excel with VBA (at the bottom)
For the example, we will use the list of random numbers, and we will put the numbers in column A, with no particular order, and omitting some of the rows:
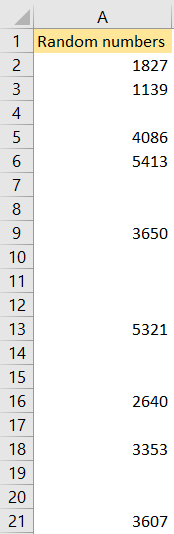
What we want to do with our code at this moment is to delete all the empty rows that are in between our data, which will make our data one after another.
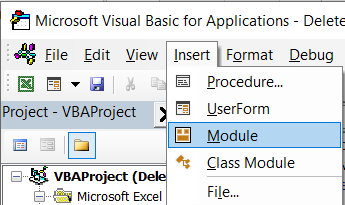
We need to insert our code into VBA and to open the VBA, we will click ALT + F11 on our keyboard and then on the window that appears choose Insert >> Module:
On the window that appears, we will insert the following code on the right side:
|
1 2 3 4 5 6 7 8 9 10 |
Sub DeleteEmptyRows() Dim lRow As Long Dim j As Long lRow = ActiveSheet.Cells(Rows.Count, 1).End(xlUp).Row For j = lRow To 1 Step -1 If WorksheetFunction.CountA(Rows(j)) = 0 Then Rows(j).Delete End If Next j End Sub |
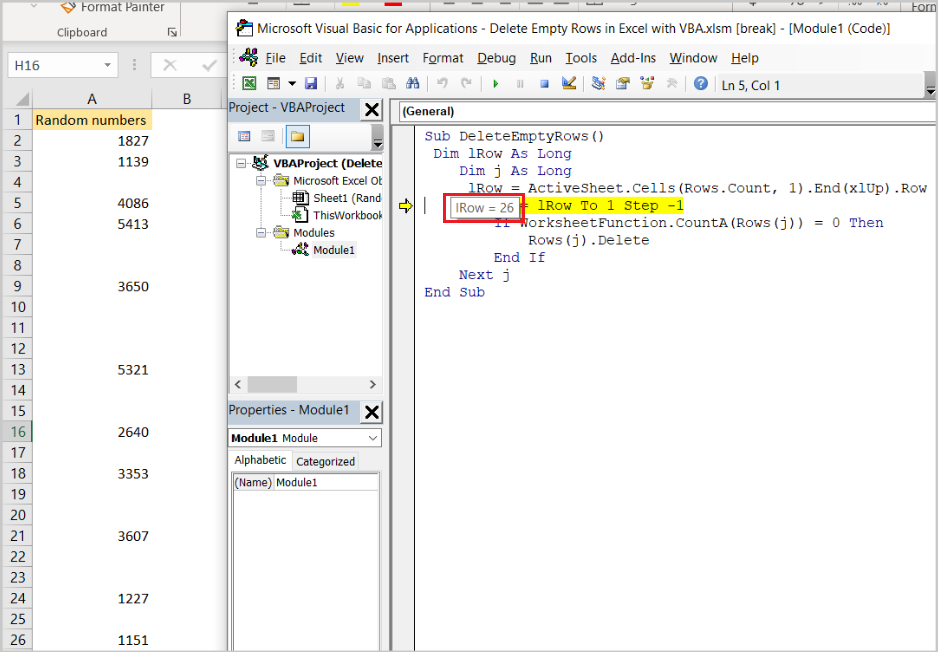
At the beginning of the code, we declare two variables: lRow and j as long. Our lRow variable will look for the first populated cell from the bottom of the page and will be equal to the row number of that cell.
In our case, when we step through our code by pressing F8 on our keyboard, lRow will have the value 28, as this is the last row where our data is located (or the first one if we observe it from the bottom):
After this, we get to the For Next Loop under which we inspect every row from the one we defined to the first one, and we delete that row if it is blank.
If we click on F5 to execute the code, we will have all of the data ordered in rows one after another:
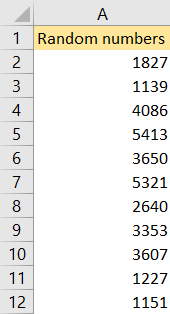
Which is precisely what we wanted to achieve.