The date in the header and footer of an Excel file repeats at the top or bottom of each printed page. It helps us to know when the file was printed, edited, and so on.
The current date inserted into the header or footer using Excel’s Current Date feature is normally in short date format based on Windows regional settings.
The format of the date cannot be changed directly in the header or footer. It can only be changed to another short date format by changing the default Windows regional settings, an inconvenient process.
Date Parameters
To understand how to create custom date formats in Excel it is important to first know the date symbols used in creating custom date formats.
A date has 3 parameters: d for the day, m for the month, and y for the year.
- d represents the day of the month with no leading zero.
- dd stands for the day of the month with leading zero for days 1 to 9.
- m displays the month of the year with no leading zero.
- mm stands for the month of the year with a leading zero for months 1 to 9.
- mmm displays the month of the year in abbreviated form.
- mmmm displays full month names.
- y stands for the day of the year.
- yy stands for the last two digits of the year.
- yyyy stands for three-digit or four-digit year.
Different pattern arrangements of the symbols yield a different custom date format. For example:
| Format | Displays |
|---|---|
| dd/mm/yy | 01/07/22 |
| dd mmm yyyy | 01 Jul 2022 |
| mmmm yyyy | July 2022 |
| yyyy-mm-dd | 2022-07-01 |
| ddd dd mmmm yyyy | Fri 01 July 2022 |
| mmm. dd/yyyy | Jul. 01/2022 |
The only way we can insert a custom date format in the header or footer of an Excel worksheet is by using Excel VBA.
In this tutorial, we will look at how we can use Excel VBA to format a date in the header or footer of a worksheet.
Use Excel VBA to format the date in the header or footer
We can use VBA code to insert a custom date format in a worksheet’s header or footer.
We use the following steps:
- In the active worksheet press Alt + F11 to open the Visual Basic Editor (VBE). If we prefer using the Excel Ribbon we can click Developer >> Code >> Visual Basic.
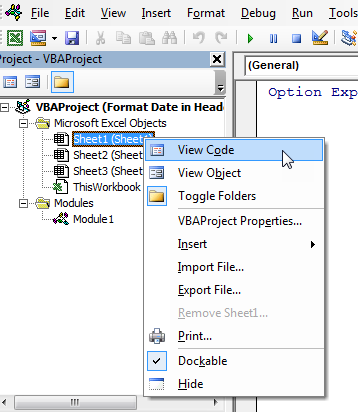
- In the Project Window, right-click the object of the worksheet in which we want to insert the custom date format. Click View Code on the shortcut menu to open the worksheet’s code window:
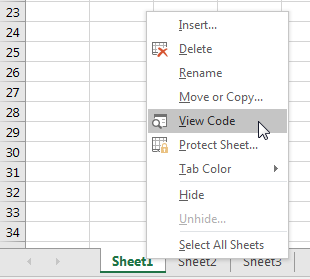
Alternatively, double-click the worksheet’s object to open its code window. Another way is to right-click the worksheet’s tab and click View Code on the shortcut menu:
- In the worksheet’s code window, type in the following code:
|
1 2 3 4 5 |
Sub format_date_header() With ActiveSheet .PageSetup.CenterHeader = Format(Date, "mmmm dd, yyyy") End With End Sub |
- Save the macro and save the workbook as a macro-enabled workbook.
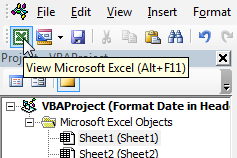
- Press Alt + F11 to switch back to the active worksheet. Alternatively, we can switch back to the active worksheet by clicking the View Microsoft Excel button on the VBE toolbar:
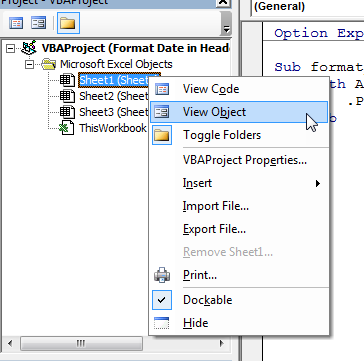
Another way to switch back to the active worksheet is by right-clicking the worksheet’s object in the Project Window and clicking View Object on the shortcut menu:
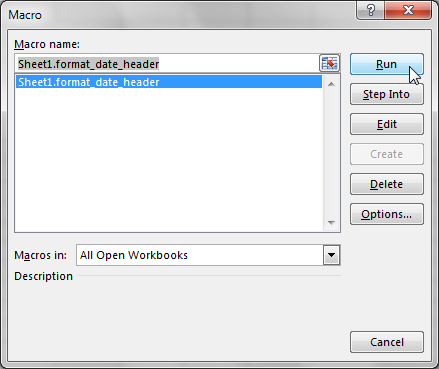
- In the active worksheet, press Alt + F8 to open the Macro dialog box. Ensure that the format_date_header macro for the worksheet is selected and then click the Run button:
If we prefer using the Excel Ribbon we can open the Macro dialog box by clicking View >> Macros >> Macros or Developer >> Code >> Macros.
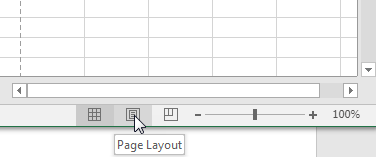
- In the active worksheet, click on the Page Layout option on the status bar to switch to the page layout view:
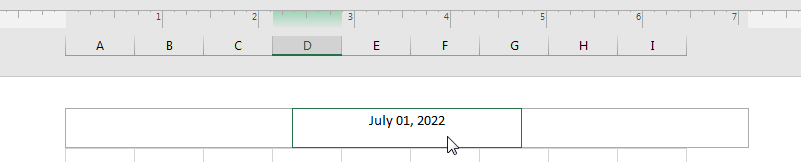
The date is displayed in the custom date format in the center section of the header:
Explanation of the macro
|
1 2 3 4 5 |
Sub format_date_header() With ActiveSheet .PageSetup.CenterHeader = Format(Date, "mmmm dd, yyyy") End With End Sub |
- Format(Date, “mmmm dd, yyyy”). The in-built VBA Format function returns the text of the current date in the pattern specified.
- PageSetup.CenterHeader = Format(Date, “mmmm dd, yyyy”). The text string representing the date returned by the Format function is assigned to the CenterHeader property of the PageSetup object of the active worksheet.
The date inserted by this Macro is not a date but a text string and is therefore not dynamic. It does not change automatically like the date inserted by the &Date code. The macro needs to be run each time we need to update the date display.
If we want the date inserted in a different section of the header or footer we have to replace the CenterHeader property in the macro with LeftHeader, RightHeader, LeftFooter, CenterFooter, or RightFooter depending on what we want.
To change the format in which we want the date to be added, we need to change the pattern used in the Format function.
If we only need the macro to insert the date during printing, we can put the code in the BeforePrint event of the workbook or attach it to a button and run it before printing.
How to put the macro in the workbook BeforePrint event
To put the macro in the BeforePrint event of the workbook we follow the steps below:
- Press Alt + F11 to open the Visual Basic Editor (VBE). If we prefer using the Excel Ribbon we can use the other ways explained earlier in this tutorial to open the VBE.
- In the Project Window, right-click the ThisWorkbook object to open its code window.
- Select and click Workbook in the drop-down box on the top left of the code window:

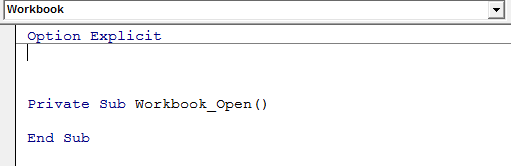
VBA assumes that we want to insert a Workbook_Open subroutine and inserts one but since it is not what we want, click on top of it to insert a BeforePrint event:
- Select and click BeforePrint in the drop-down box on the top right of the code window:

Excel VBA inserts Workbook_BeforePrint event handler:

- Type in the following code and save the macro:
|
1 2 3 |
With ActiveSheet .PageSetup.CenterHeader = Format(Date, "mmmm dd, yyyy") End With |
- Press Alt + F11 to switch back to the active worksheet.
When we print the worksheet, the Workbook_BeforePrint event handler will run and insert the custom date format in the center section of the header.
How to attach the macro to a button
We can also attach the macro to a button and run it whenever we want to print. We attach it by following the steps below:
- In the active worksheet click Developer >> Controls >> Insert >> Form Controls >> Button:
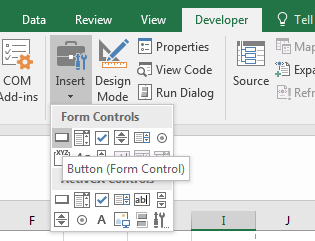
- Drag the cursor that looks like a cross to insert a button on the worksheet.
- Type in the name of the button in the Assign Macro dialog box and click OK:
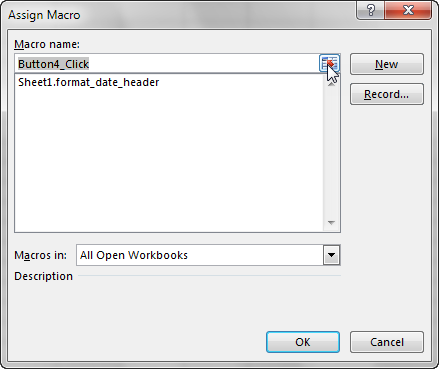
The button is inserted:
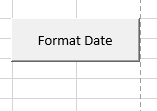
Whenever we want to print the worksheet we can click on the button to run the macro to insert the date in a custom format.
Conclusion
The date inserted into the header or footer using Excel’s Current Date feature is normally in Short Date format based on Windows regional settings.
The Current Date feature does not have the option of changing the format of the date.
In this tutorial, we have extensively looked at how we can use Excel VBA to apply a custom format to the date in the header or footer of an Excel worksheet.