So far, we mainly discussed Modules when we talked about the VBA. But, if you have ever dealt with Visual Basic in Excel, there is a high chance that you stumbled upon User Forms as well.
In the example below, we will show how to create User Forms, how to assign code to them, and how to use built-in codes in User Forms to your advantage. We will use this knowledge to format Text Box in User Form to show the phone number in a way we want.
Creating User Forms in VBA
The first thing that we need to do is to create a User Form. To do so, we need to open the Visual Basic, either by going to the Developer tab >> Code >> Macros or simply by clicking ALT + F11.
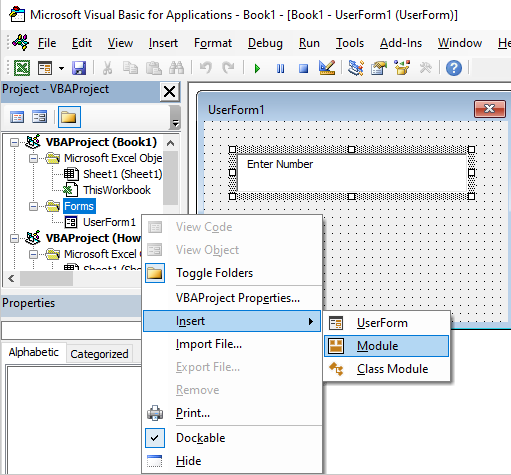
Once we are on this window, we will right-click anywhere on the left window (beneath the Project) and go to Insert >> UserForm:
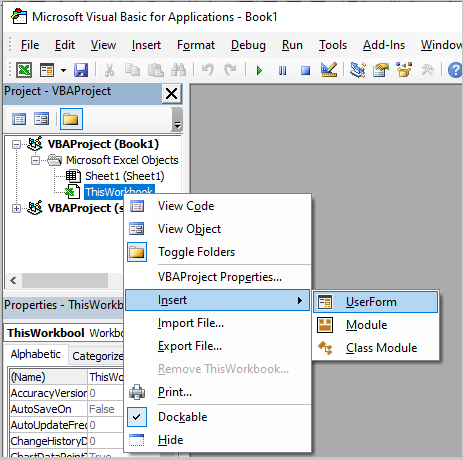
When we click on it, our User Form will be created:
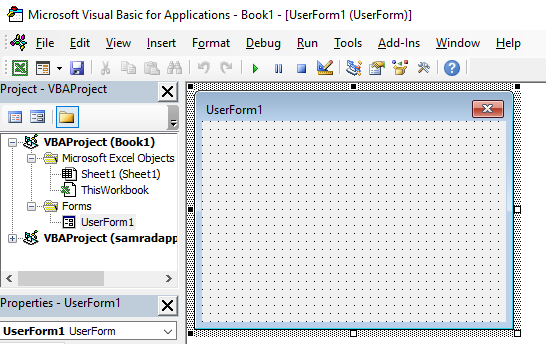
To manipulate our User Form, we need to add the Toolbox. We will click on the View tab, and then on the Toolbox:

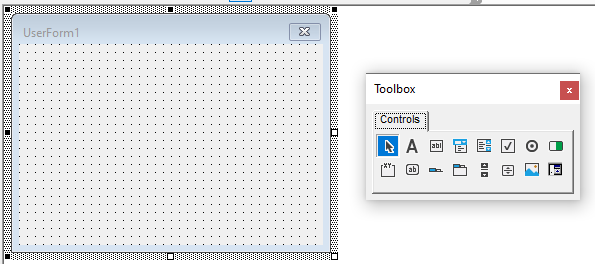
When we click on it, our Toolbox will be visible to us:
Format Text Box Phone Number with User Form
On our Toolbox, there are a bunch of useful controls. The first one that we are going to use is Text Box. It is located third in the first row. We click on it and simply add it to our User Form:
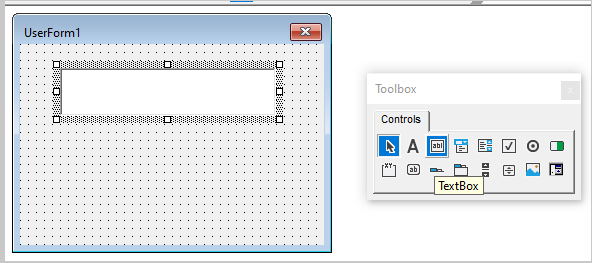
We will write the text “Enter Number”. Remember that this text will be the default text whenever we trigger our User Form.
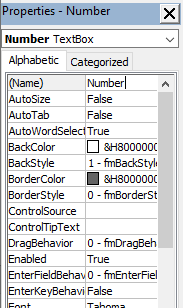
For the next thing, we will rename our Text Box to be simply “Number” in the Properties window.
When we double click on our Text Box in the User Form, the following window will appear:
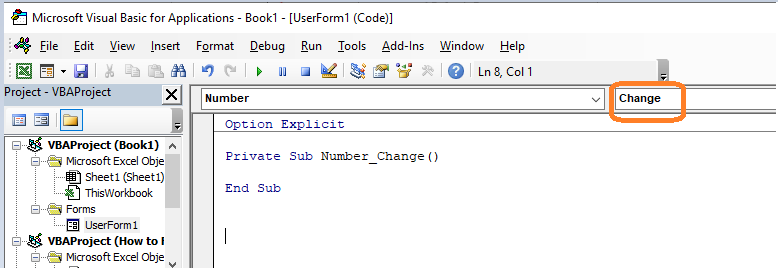
You will notice that the automatic function was created. In this particular case, the code that will work on each change in the Text Box (which is now named Number) was created, as seen in the top right corner.
However, to get what we want, i.e. to format the number in the Text Box in the exact way we want, we will use a different method, not Change, but rather Exit. You will notice that we can choose among many options on the dropdown menu:
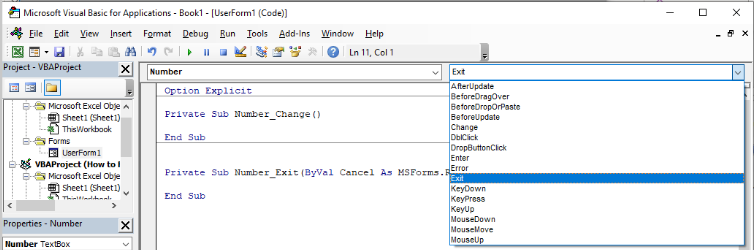
You will also notice that, once we click on it, the new code is automatically being formatted, along with defining ByVal as our variable.
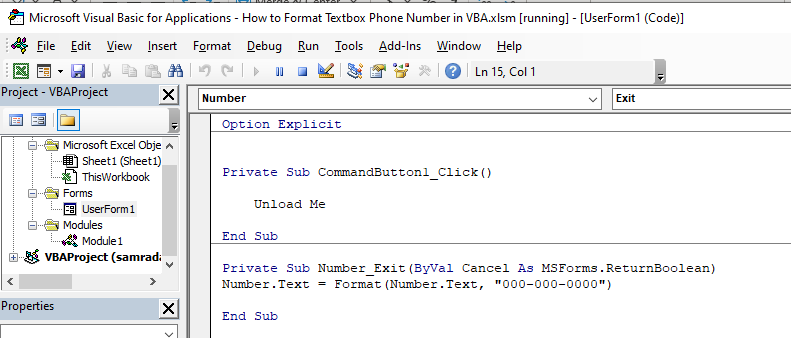
All we do need to do now is to input our line of code, which will be:
|
1 2 |
Private Sub Number_Exit(ByVal Cancel As MSForms.ReturnBoolean) Number.Text = Format(Number.Text, "000-000-0000") |
And it will look like this in the window:

This code means that our number will be formatted as indicated above (“000-000-0000”), once the user enters a number.
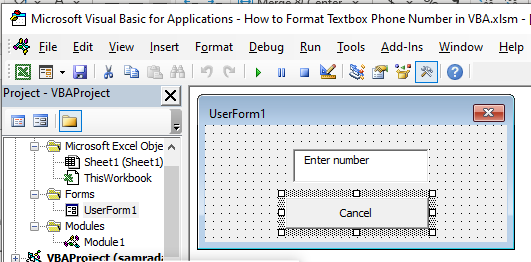
We will also add a command button that will be able to close our User Form. We will go back to our User Form, go into the Toolbox, and reach out to the Command Button option. We will simply write Cancel on it and then click on it to apply the following code:
|
1 2 3 |
Private Sub CommandButton1_Click() Unload Me End Sub |
This code will simply allow us to close our User Form on click. Our User Form looks like this:
And our code related to the User Form is as follows:
Displaying and Closing User Form
Although we defined our User Form and the code related to it, users still cannot see this in our workbook. We need to attach some code to make this User Form visible.
We will go to our VBA window, right-click anywhere on the left window, and then choose Module:
Once in the Module window, we will input the following formula:
|
1 2 3 |
Sub DisplayUserForm() UserForm1.Show End Sub |
And that is it. All we need to know for this formula to work is our User Form name, in our case UserForm1.
We will then save our code. Remember that you need to save your Workbook as a Macro-Enabled Workbook to have your codes stored.
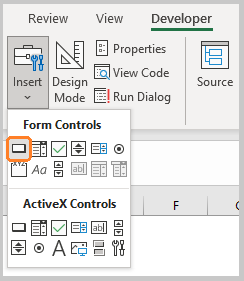
We will get back to our worksheet then go to the Developer tab >> Controls >> Insert and select the first option available:
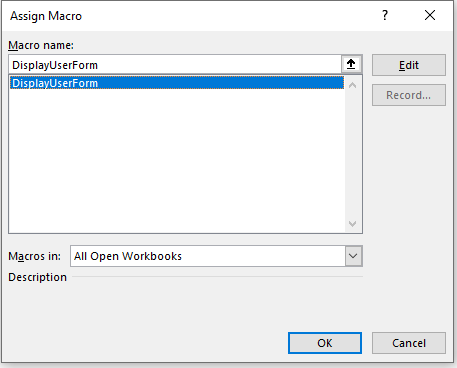
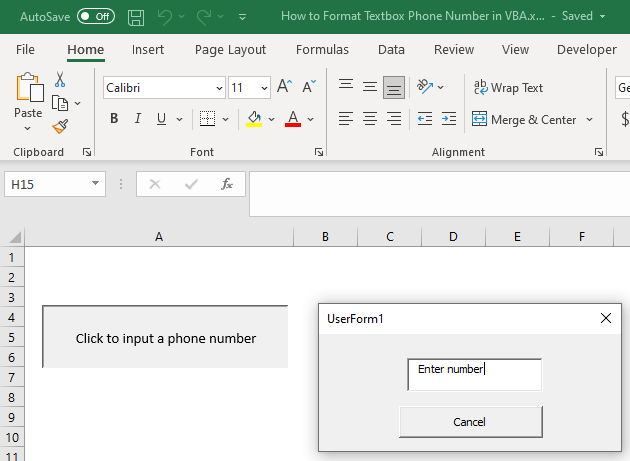
Once we click on it, we will change the text inside to be: “Click to input a phone number”, then right-click on it and choose Assign Macro:

Once we are on this window, we will choose our Macro (in our case the only one available- DisplayUserForm:
Now our Macro will be assigned to the button and will generate our User Form, once clicked on.
All we need to do now is click on this button. We will be presented with the following window:
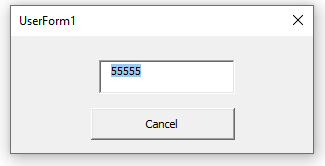
When we enter desired number, for example, 5555 (just for the fun of it), we will have the following picture on our screen:
When we click ENTER, our code for formatting will execute, and our number will be formatted:
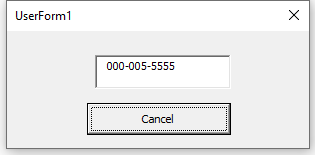
You will notice that our number is formatted in the desired way.
It is worth noting, that, however, we do not have a code to write this number into our worksheet directly. We just show this number to our user, without remembering it in the memory.
All we can do now is click Cancel to exit the User Form.