The textbox is a term that you should probably be familiar with, especially if you ever used any Office program.
In Excel, textboxes are most widely used in Visual Basic for Applications (VBA), especially in User Forms. In the example below, we will show how to create a Textbox in User Form, and then how to get the value from it and insert it into our worksheet.
How to Create TextBox in User Form
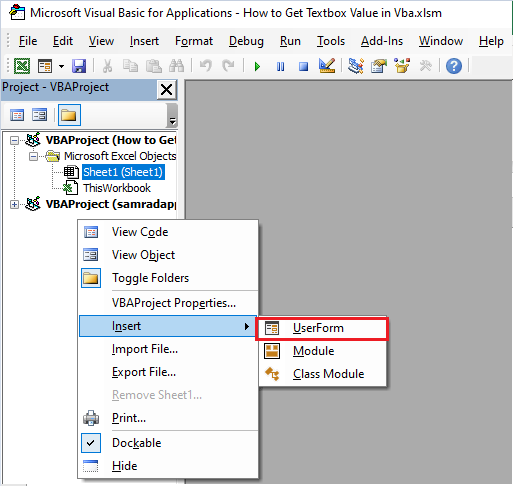
The first thing that we need to do is create a User Form. To do this, we will go open the Excel spreadsheet, then click ALT + F11, and then right-click in the left window of our screen and choose Insert >> User Form:
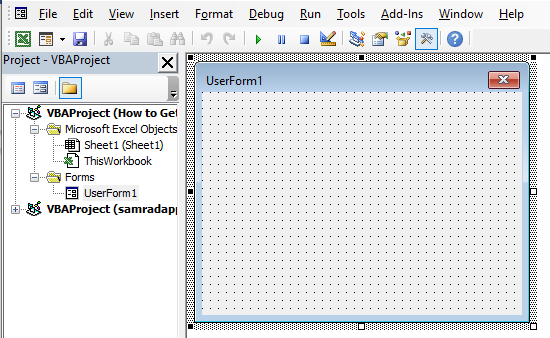
When we do click on it, a User Form window will appear. It looks like this:
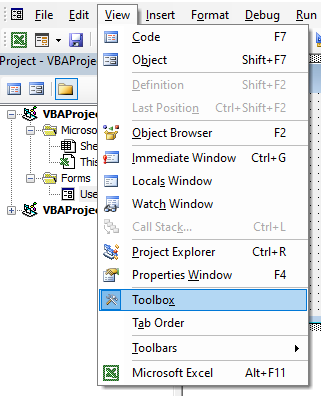
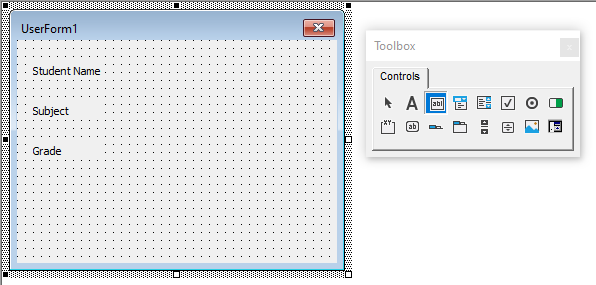
To add a Textbox to our User Form, we need to find our Toolbox. We simply need to go to the View tab and find Toolbox there:
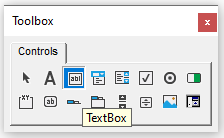
Once Toolbox appears, we can see various control buttons that we can add to our User Form. The Textbox is located in the third place:
We will first add a couple of labels (second place in the Toolbox) to our User Form by simply clicking on the control button, and then drawing the label in the User Form. Labels will be: Student Name, Subject, and Grade:
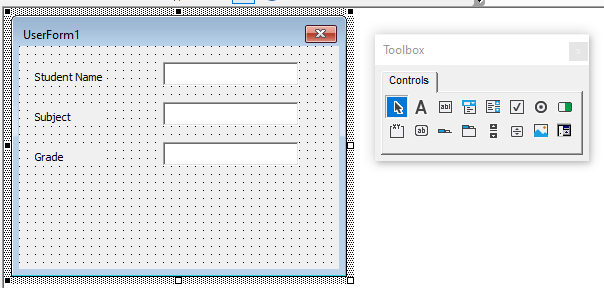
Next to it, we will add Textboxes on the left side of every label. We will do that by clicking on the Textbox in Controls, and then using drag and drop to draw them. Our User Form will now look like this:
Naming the User Form and Controls
For the sake of the later code, it is best practice to change the names of the User Form and all of the Controls that we created. To change the name of the User Form, we will double click on it on the left side window, change the name, and then change the Caption as well:
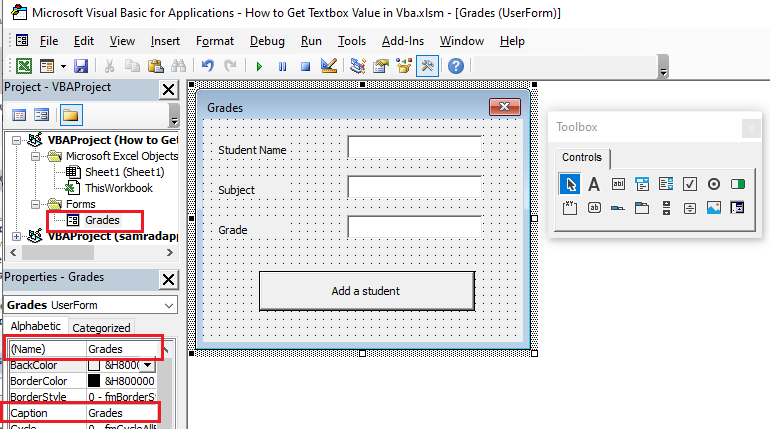
We will change the name for every TextBox that we have, and define it to be Box1, Box2, and Box3.
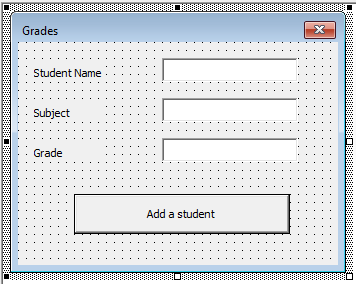
We also need to add a ComandButton, so we can add our code to it. We will add the CommandButton from our Controls, and have the last look at our UserForm:
Adding Textbox Values to Sheet
Now we have our UserForm created and we can run it by clicking F5 on our keyboard, while in the module, or by clicking on the play button in the module:

Once we click on it, the User Form will be shown but we cannot do anything with it. The things we write in Text Boxes will not be saved anywhere. To change this, we need to add the code to our User Form. This has to be done in VBA.
We will get back to the VBA and double-click on the “Add a student” Command Button. Next thing, we will create the following code:
|
1 2 3 4 5 6 7 |
Private Sub CommandButton1_Click() Sheet1.Activate Range("A1").End(xlDown).Offset(1, 0).Select ActiveCell.Value = Box1.Value ActiveCell.Offset(0, 1).Value = Box2.Value ActiveCell.Offset(0, 2).Value = Box3.Value End Sub |
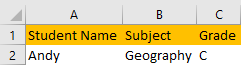
In our Sheet1, which will be named “Student’s grades”, we will create two rows, one with the column names and one with the student for example:
Now we will get back to our VBA and run the User Form by clicking F5 on our keyboard.
We will input the needed data:
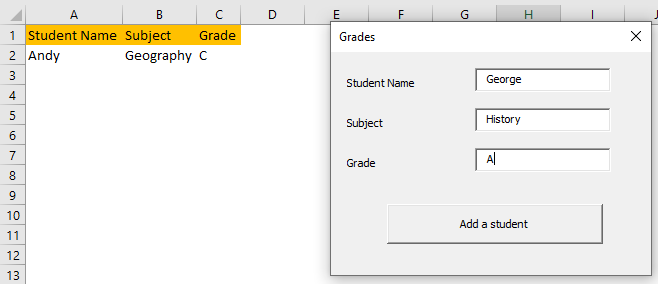
And click on the “Add a student” Command Button. When we do, row three will be populated with the desired data:

You will also notice that we did not restrict our data, so users basically can insert any text or number in our User Forms. This part can also be coded, but it is not in the scope of this exercise.