Before we send out by email or print a particular Excel workbook we have been working on, we may want to hide specific rows or columns. We do this to prevent the display of specific data to unauthorized people.
In other situations, before we audit a spreadsheet we may have received from a colleague, we may want to unhide all columns and rows to ensure we get a total view of the spreadsheet’s contents.
This tutorial shows you several techniques for hiding and unhiding rows and columns using Excel VBA.
How to Hide Columns Using Excel VBA
Method #1: Excel VBA Procedure to Hide Columns
Suppose we have the following Excel dataset on Sheet1 of the workbook.
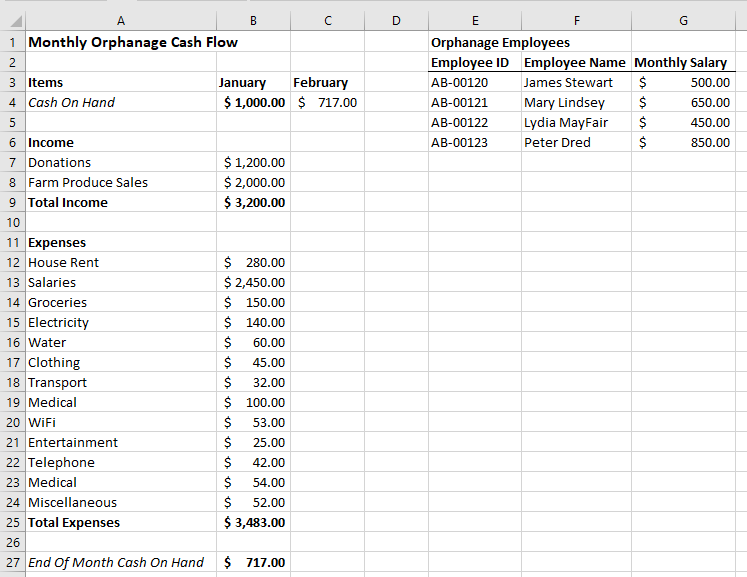
We want to use Excel VBA to hide columns E, F, and G, which contain employee data before we print the spreadsheet or send it out by email.
We use the following steps:
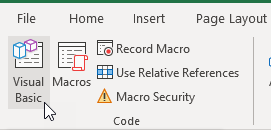
- Click Developer >> Code >> Visual Basic to open the Visual Basic Editor.
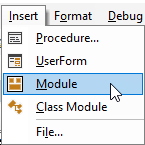
- In the Visual Basic Editor, click Insert >> Module to create a new module.
- Type the following procedure in the module.
|
1 2 3 |
Sub HideColumns() Worksheets("Sheet1").Range("E:G").EntireColumn.Hidden = True End Sub |
- Save the procedure and save the workbook as a Macro-Enabled Workbook. This ensures that the procedure is retained in the workbook for future use.
- Click inside the procedure and press F5 to run the code.
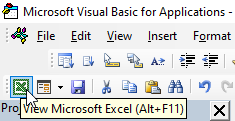
- Click the View Microsoft Excel button on the toolbar.
You are taken back to the active worksheet containing the dataset. Notice that columns E, F, and G are hidden.
Note: If you want to hide several non-contiguous columns, separate the column references by commas. For example, to hide columns E and G, we use the following sub-procedure:
|
1 2 3 |
Sub HideColumns() Worksheets("Sheet1").Range("E:E, G:G").EntireColumn.Hidden = True End Sub |
Method #2: Excel VBA to Hide Columns Based on Cell Values
Suppose we have the following Excel dataset on Sheet2 of the workbook.
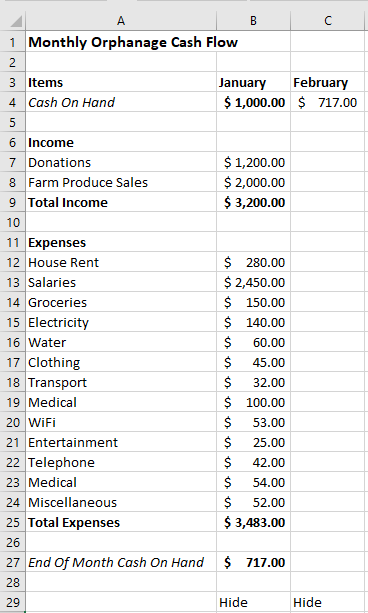
We want to use Excel VBA to hide the columns that have the word “Hide” in cells B29 and C29.
We use the steps below:
- Click Developer >> Code >> Visual Basic to open the Visual Basic Editor.
- In the Visual Basic Editor, click Insert >> Module to create a new module.
- Type the following procedure in the module:
|
1 2 3 4 5 6 7 8 |
Sub HideColumnsOnCellValues() Dim cell As Range For Each cell In ActiveWorkbook.ActiveSheet.Rows("29").Cells If cell.Value = "Hide" Then cell.EntireColumn.Hidden = TRUE End If Next cell End Sub |
- Place the cursor anywhere in the procedure and press F5 to run the code.
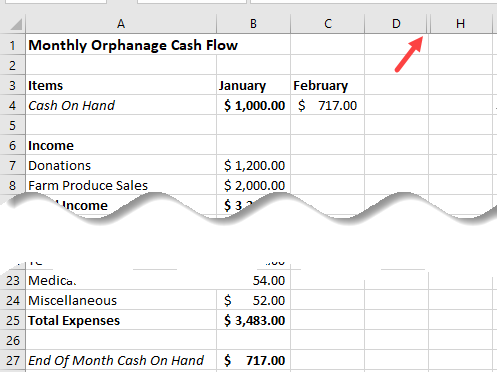
- Click the View Microsoft Excel button on the toolbar to switch to the active workbook that contains the dataset. Notice that columns B and C that have the word “Hide” in cells B29 and B30 respectively are hidden.

How to Hide Rows Using Excel VBA
Method #1: Excel VBA Procedure to Hide Rows
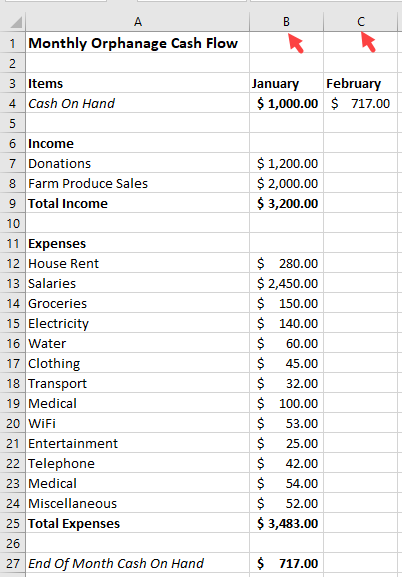
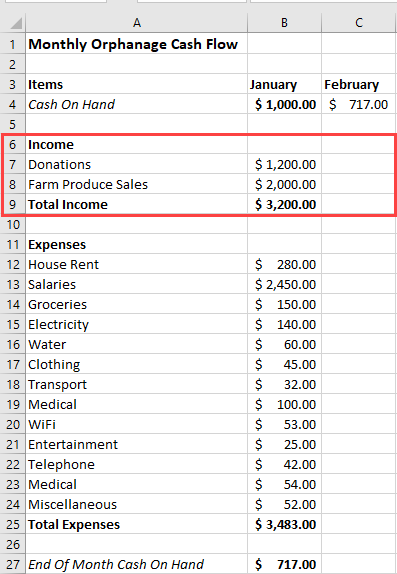
Suppose we have the following Excel dataset on Sheet1 of the workbook.
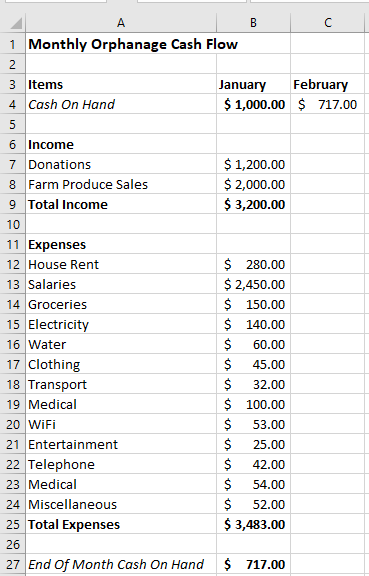
We want to hide rows 6, 7, 8, and 9, which contain data on the orphanage income before we print the spreadsheet or send it out by email.
We use the following steps:
- Click Developer >> Code >> Visual Basic to open the Visual Basic Editor.
- In the Visual Basic Editor, click Insert >> Module to create a new module.
- Type the following procedure in the module:
|
1 2 3 |
Sub HideRows() Worksheets("Sheet1").Range("6:9").EntireRow.Hidden = True End Sub |
- Click inside the procedure and press F5 to run the code.
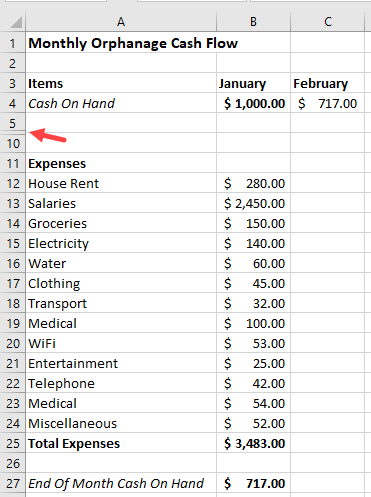
- Click the View Microsoft Excel button on the toolbar. You are taken back to the active worksheet. Notice that rows 6, 7, 8, and 9 are hidden.
Note: If you want to hide several non-contiguous rows, separate the row references by commas. For example, to hide rows 6 and 8, we use the following sub-procedure:
|
1 2 3 |
Sub HideRows() Worksheets("Sheet1").Range("6:6, 8:8").EntireRow.Hidden = True End Sub |
Method #2: Excel VBA to Hide Rows Based on Cell Values
Suppose we have the following Excel dataset on Sheet3 of the workbook.
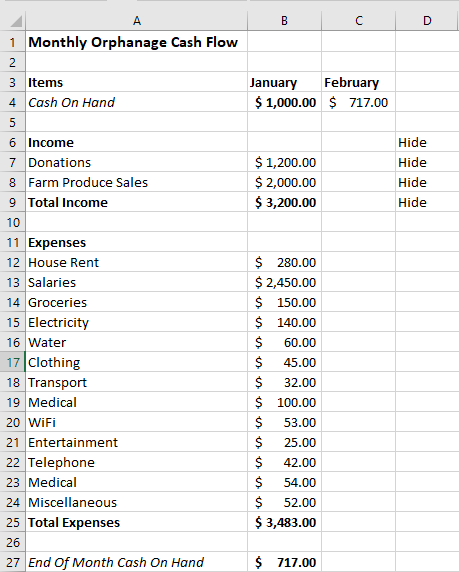
We want to use Excel VBA to hide all the rows that have the word “Hide” in column D.
We use the steps below:
- Click Developer >> Code >> Visual Basic to open the Visual Basic Editor.
- In the Visual Basic Editor, click Insert >> Module to create a new module.
- Type the following procedure in the module:
|
1 2 3 4 5 6 7 8 |
Sub HideRowsOnCellValues() Dim cell As Range For Each cell In ActiveWorkbook.ActiveSheet.Columns("D").Cells If cell.Value = "Hide" Then cell.EntireRow.Hidden = TRUE End If Next cell End Sub |
- Place the cursor anywhere in the procedure and press F5 to run the code.
- Click the View Microsoft Excel button on the toolbar to switch back to the active worksheet containing the dataset. Notice that rows 6, 7, 8, and 9 that have the word “Hide” in cells D6, D7, D8, and D9, respectively, are hidden.
How to Unhide Columns Using Excel VBA
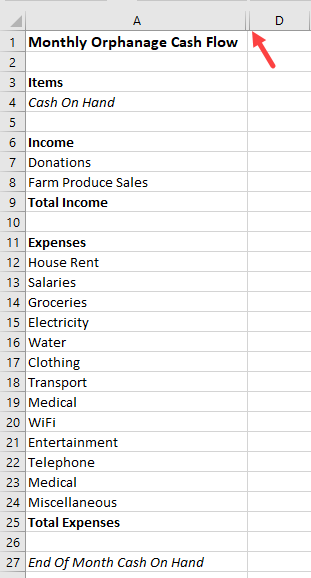
Suppose we have the following dataset on Sheet4 whose columns B and C are hidden.
We want to unhide the two columns using an Excel VBA sub-procedure.
We use the following steps:
- Click Developer >> Code >> Visual Basic to open the Visual Basic Editor.
- In the Visual Basic Editor, click Insert >> Module to create a new module.
- Type the following procedure in the module:
|
1 2 3 |
Sub UnhideColumns() Worksheets("Sheet4").Range("B:C").EntireColumn.Hidden = False End Sub |
- Click inside the sub-procedure and press F5 to run the code.
- Click View Microsoft Excel on the toolbar to switch back to the active worksheet containing the dataset. Notice that columns B and C are unhidden.
How to Unhide Rows Using Excel VBA
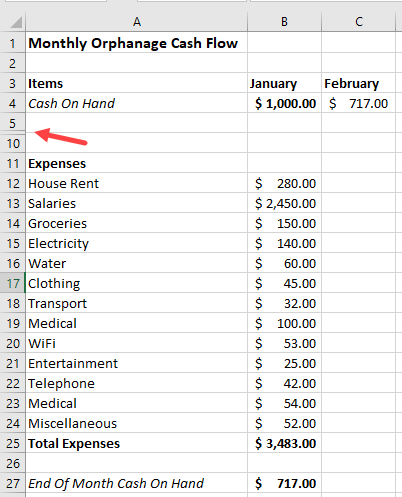
Suppose we have the following dataset whose rows 6, 7, 8, and 9 are hidden. The dataset is on Sheet5.

We want to unhide the four rows using Excel VBA.
We use the following steps:
- Click Developer >> Code >> Visual Basic to open the Visual Basic Editor.
- In the Visual Basic Editor, click Insert >> Module to create a new module.
- Type the following procedure in the module:
|
1 2 3 |
Sub UnhideRows() Worksheets("Sheet5").Range("6:9").EntireRow.Hidden = False End Sub |
- Click inside the sub-procedure and press F5 to run the code.
- Click View Microsoft Excel on the toolbar to switch back to the active worksheet containing the dataset. Notice that rows 6, 7, 8, and 9 are unhidden.
Conclusion
This tutorial has looked at how to hide or unhide columns and rows using Excel VBA. We hope you found the information helpful.