Selecting the data that we want to manipulate and work with is often the first step in the process of conducting the actual work.
All of the standard selections can also be done with the VBA, and more often than not, it is easier. In the example below, we will show how to select the range depending on the value of the particular variable, be it an absolute or relative variable.
Select Range Based on an Absolute Referenced Variable
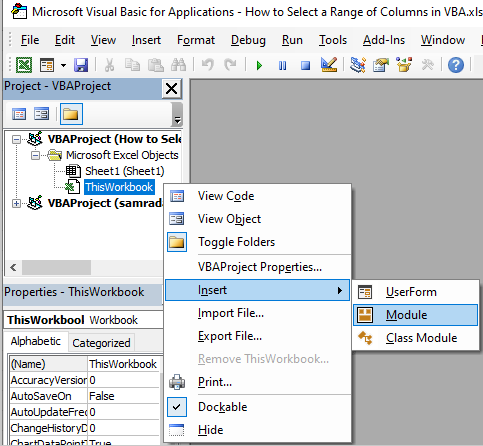
For the first thing, we will make the code that will select the range based on the variables that are hard-coded, or absolute. The first thing that we need to do to write our code is to open the VBA editor. To do it, we press ALT + F11 on our keyboard. After that, on the window that appears, we will right-click on the left window and choose Insert >> Module:
A window will appear on the right side of the window, and we can start writing our code.
Now, let’s say that we want to select the range B1:E11. To do so, this will be our code:
|
1 2 3 4 5 6 |
Sub SelectRangeByVariables() Dim firstrow As Long, lastrow As Long firstrow = 1 lastrow = firstrow + 10 Range("B" & firstrow & ":E" & lastrow).Select End Sub |
This is what our code looks like in the module:
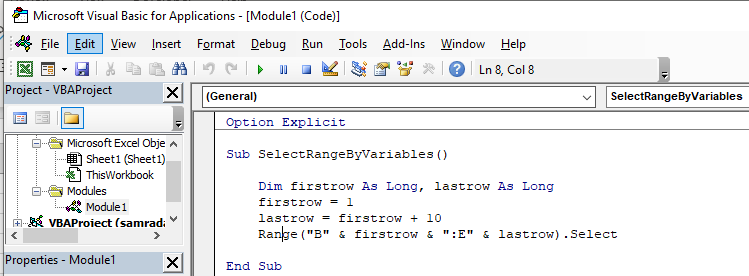
In our code, we declare the two variables that we have as long (numbers) and they will refer to the rows that we want to select. The first variable will be number 1, and the second one will be the sum of the first variable value and number 10, which is number 11 in our case.
For the last part, we will declare the range that needs to be selected as the range that will encompass cells from column B to column E and the rows that we predefined.
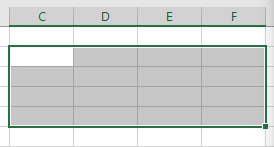
When we execute our code by pressing F5, this is the picture that we will have on our screen:
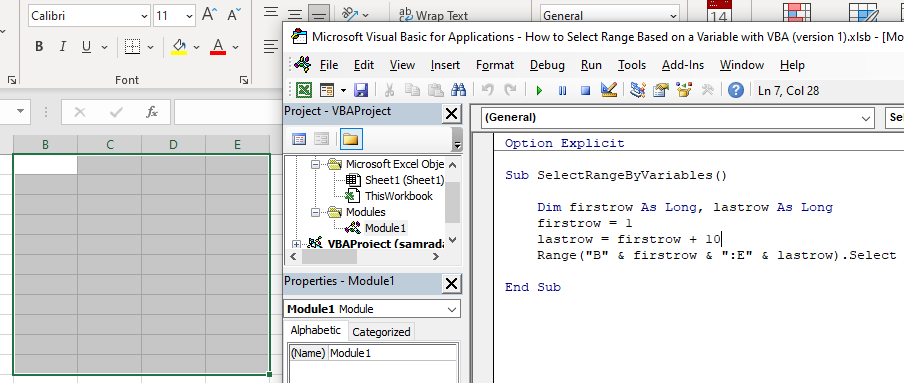
As seen, we will have the desired range selected.
Select Range Based on a Relative Referenced Variable
If we want to make the user define the range that he wants to select, you can use the Application.InputBox to achieve it. This will be our code:
|
1 2 3 4 5 6 7 8 9 10 11 12 13 14 |
Sub SelectRangeByVariables_2() 'Declaring variables Dim firstrow As Long, lastrow As Long Dim firstcolumn As String, lastcolumn As String 'Letting user set row variables firstrow = Application.InputBox(Prompt:="Choose the starting row", Title:="First row", Type:=1) lastrow = Application.InputBox(Prompt:="Choose the last row", Title:="Last row", Type:=1) 'Letting user set column variables firstcolumn = Application.InputBox(Prompt:="Choose the starting column", Title:="First column", Type:=2) lastcolumn = Application.InputBox(Prompt:="Choose the last column", Title:="Last column", Type:=2) lastcolumn = ":" & lastcolumn ''Selecting the range Range("" & firstcolumn & firstrow & lastcolumn & lastrow).Select End Sub |
And this is what it looks like in the VBA editor:
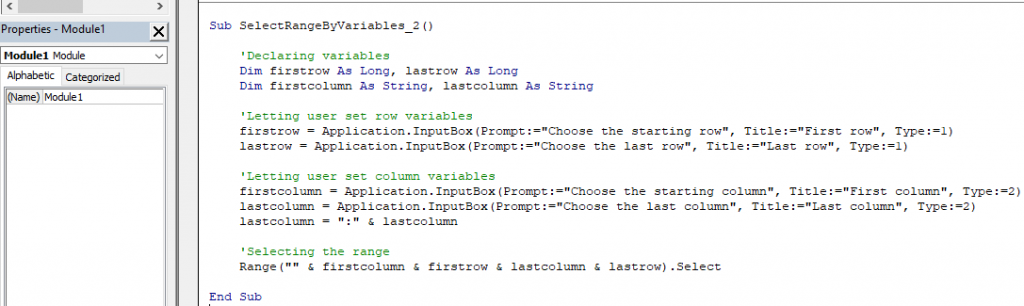
The code itself has several different parts. They are described in the comments, which are colored in green in our editor. The first part declares the variables:
|
1 2 |
Dim firstrow As Long, lastrow As Long Dim firstcolumn As String, lastcolumn As String |
Variables for rows are declared as long (numbers) and variables for columns are declared as a string, which means that we need to make sure these types are followed through in the later parts of the code.
The second part uses Application.InputBox to allow users to choose the first and last row that will be selected:
|
1 2 |
firstrow = Application.InputBox(Prompt:="Choose the starting row", Title:="First row", Type:=1) lastrow = Application.InputBox(Prompt:="Choose the last row", Title:="Last row", Type:=1) |
It is noticeable that the type used in the Application.InputBox for rows in type 1, which represent a number.
Next, we use Application.InputBox to ask a user to choose the columns:
|
1 2 3 |
firstcolumn = Application.InputBox(Prompt:="Choose the starting column", Title:="First column", Type:=2) lastcolumn = Application.InputBox(Prompt:="Choose the last column", Title:="Last column", Type:=2) lastcolumn = ":" & lastcolumn |
For the columns, our type will be number 2, which stands for string. In this part, we also add “:” in front of the last column, as we want the first and last column to be formatted as, for example, “X:Y”.
In the last step, all we need to do is to select the range that the user has defined:
|
1 |
Range("" & firstcolumn & firstrow & lastcolumn & lastrow).Select |
When we execute our code by pressing F5 in the Editor, this is the first window that will pop up:
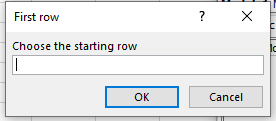
For this example, we will input row number 2. Then we will click OK and will be prompted immediately for the last row:
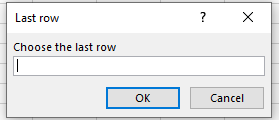
We will choose row number 5 and click OK again. Then we will be asked to define our first column:

We will choose column C, click OK, and then go to the final step- choosing the final column:
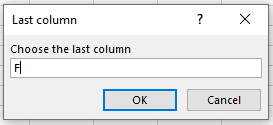
As seen, it will be column F.
Once everything above is done, the range that we have set (range C2:F5) will be selected: