There are virtually limitless possibilities and options for which you can use Excel. One of these options is to add a checkbox to a certain cell.
We will show how to do that in the example below.
Put Checkbox in a Cell
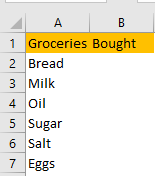
For our example, we will presume that we have a lazy kid which was given the task to buy groceries:
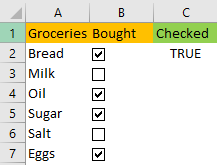
In column B, we will place our checkboxes to verify if some of these groceries have been bought or not.
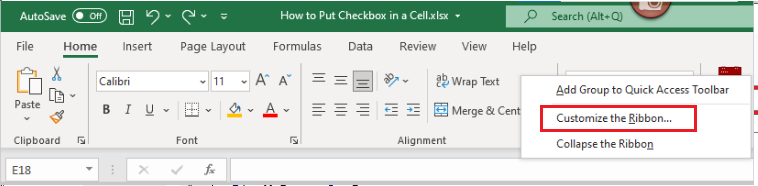
To achieve this, the first thing that we need to do is enable the Developer tab in our Ribbon. We will right-click anywhere on the ribbon, then choose the Customize the Ribbon option:
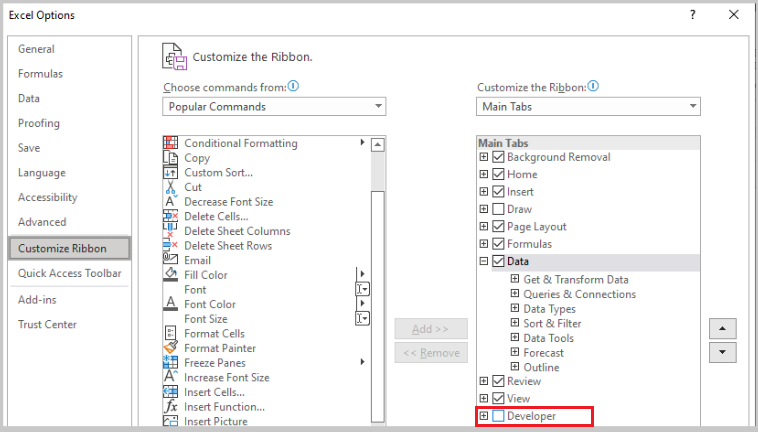
On a pop-up window that appears, we will simply click the checkbox for the Developer tab:
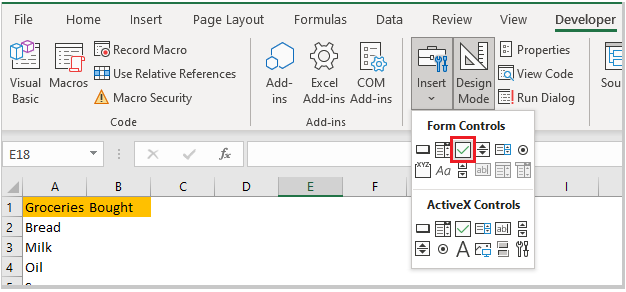
Now that we have a developer tab in the ribbon, we would go to it, and then choose: Controls >> Insert >> Form Controls >> Check Box:
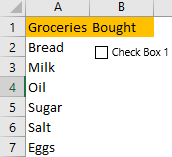
When we click here, we will have a little cross symbol that is usually used for drawing in Excel. We will draw our checkbox in cell B2 and it will look like this:
To edit the checkboxes, we have to right-click on the boxes.
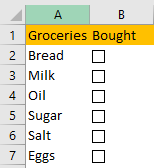
To copy and paste the checkbox till the end of our range, we need to select the cell that has a checkbox by coming to it with arrow keys on the keyboard, and we need to position our cursor over the lower right corner of our cell. We will then drag the pointer once we see a black cross.
This is our result:
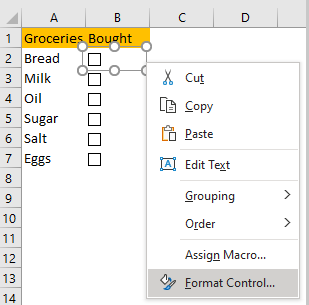
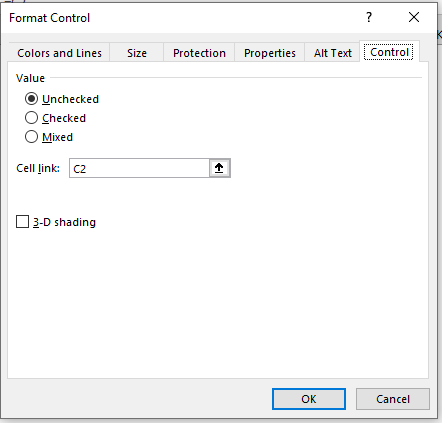
We can also link our checkboxes to a certain cell. We will right-click on the first checkbox and then choose Format Control:
On a window that appears, we will go to the Control tab and input the desired cell in the Cell link option (cell C2 in our example):
We will select some of the checkboxes, including the one we linked to a cell, and this is our result: