When dealing with things in Excel, you must remember that there is almost always a solution for every problem.
Locking and securing the cells and doing the regular work can sometimes be painful. In the example below, we will show how to allow the sorting of the data in a protected worksheet.
Protect Worksheet but Allow Sorting in Excel
Protecting the worksheet in Excel can be done on the basis of selected and unselected cells. This leaves us in a pretty good spot in choosing what we want to protect, and what not.
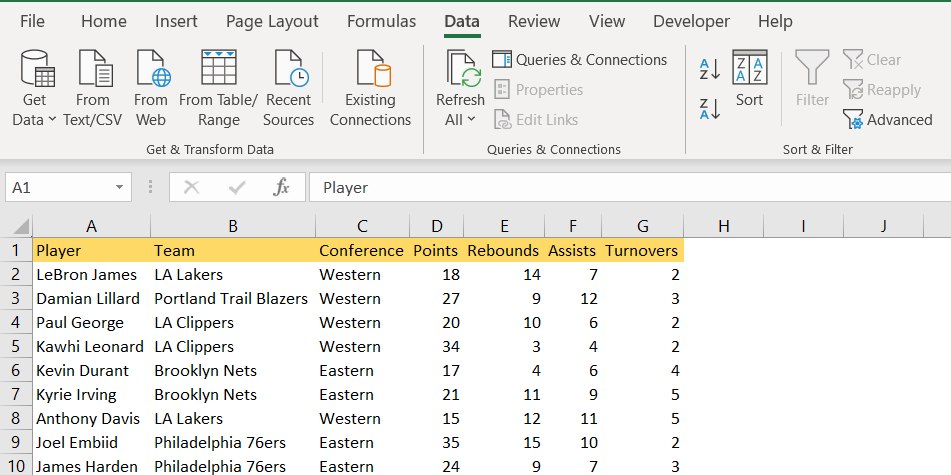
For our example, we will use the list of NBA players and their statistics from several categories: points, rebounds, assists, and turnovers:

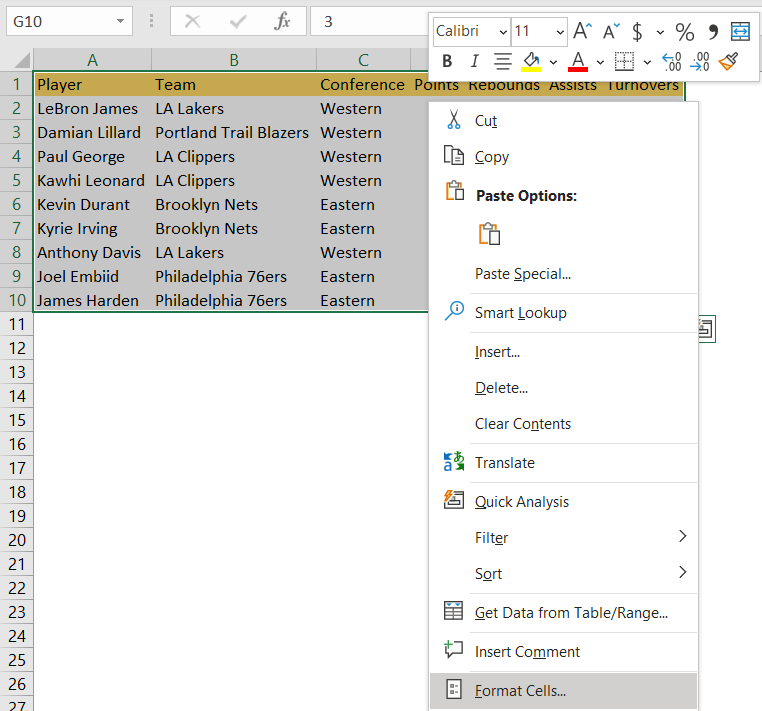
For the next step, we need to protect our worksheet. To do this, we first need to choose the cells that will not be encompassed, which will be range A1:G10 in our case, and then right-click on the range and choose Format Cells:
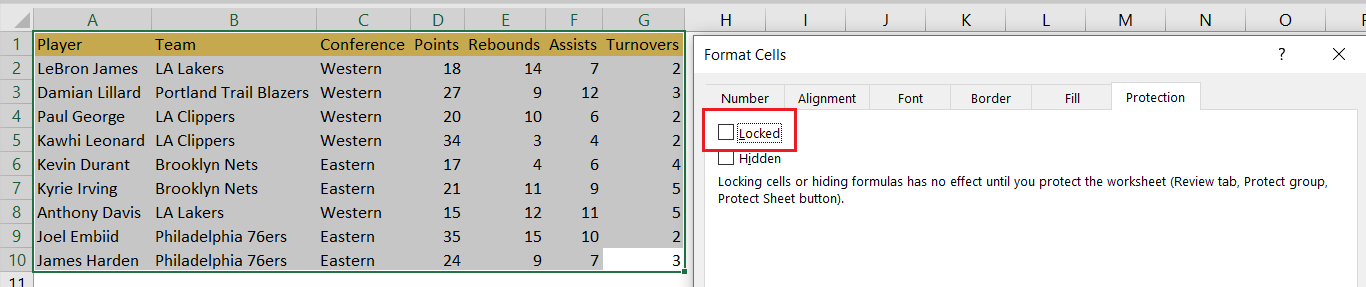
On the window that appears, we will go to the Protection tab, and then uncheck the Locked checkbox. We will click OK to close the dialog box:
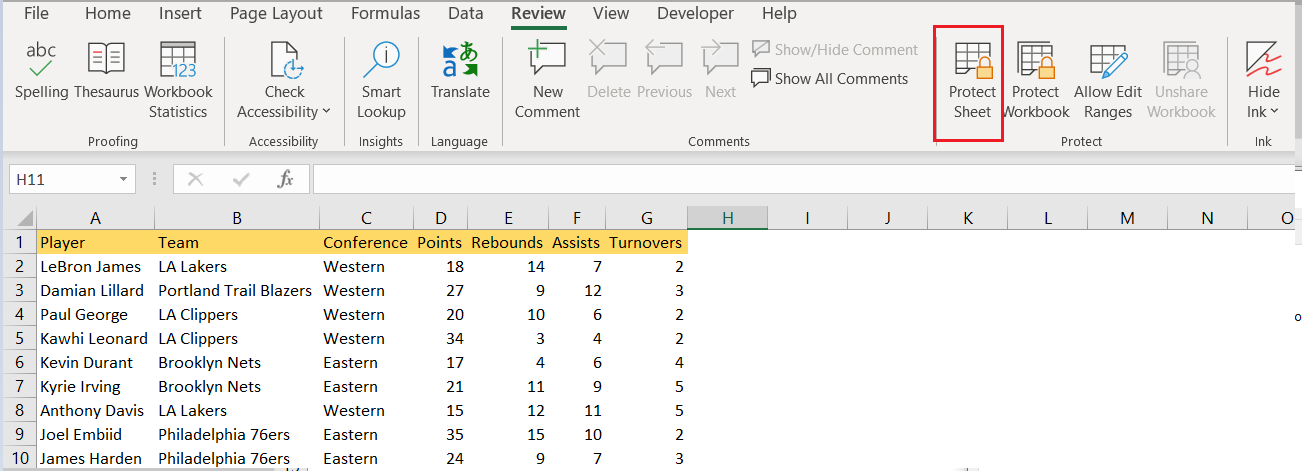
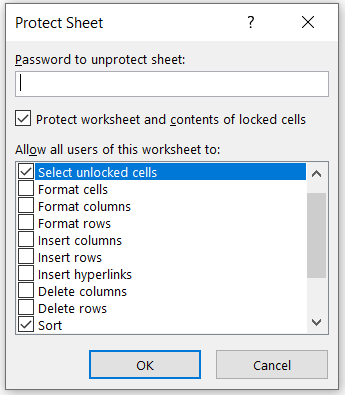
For the next step, we need to protect the worksheet. We will go to the Review tab, then go to Protect >> Protect Sheet:
In the dialog box that appears, we can choose a password (which is optional, so we will leave it blank), and then check the “Select unlocked cells” and “Sort” in “Allow all users of this worksheet to”:
Locking and securing the cells and then doing the regular work can sometimes be painful. In the example below, we will show how to allow the sorting of the data in a protected worksheet.
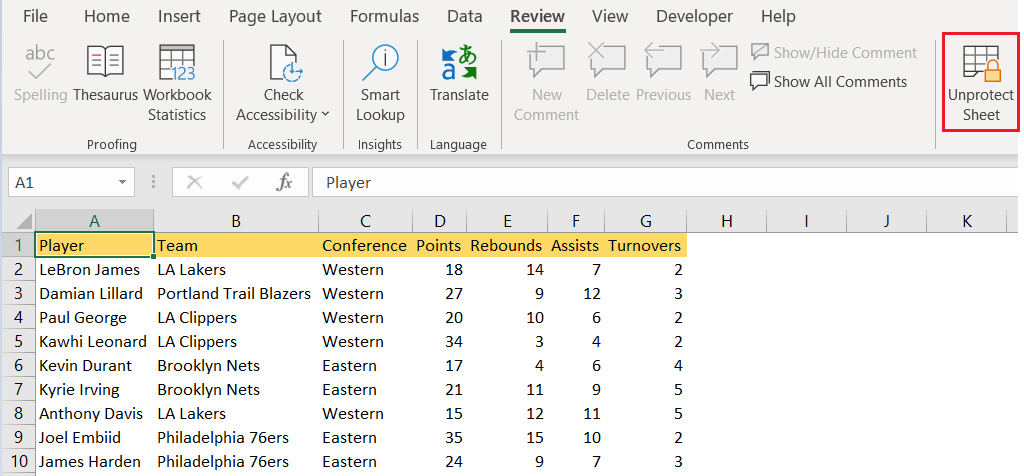
To revert these changes, we simply need to unlock the sheet by going to the Review tab and unprotect it: