We can use Excel VBA to insert rows and columns into an Excel table and add data to the table.
In this tutorial, we demonstrate how we can use Excel VBA in different ways to add data to a table and insert rows and columns into an existing table.
Insert a row and add data to an existing table using Excel VBA
Example 1: Insert a row to the bottom of an existing table and add data
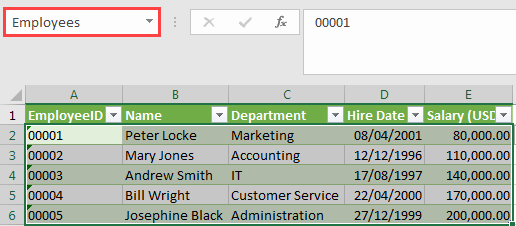
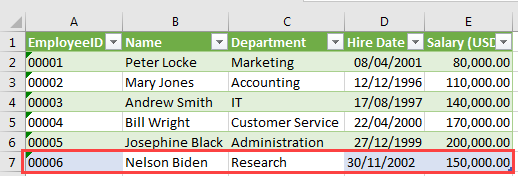
In this example, we will use the following table named Employees.
We use the following steps to add a new row to a table after the last row and add data:
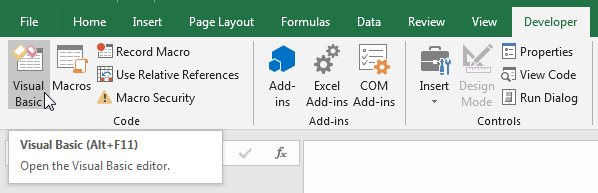
- In the active worksheet that contains the table, press Alt + F11 to open the Visual Basic Editor (VBE). Alternatively, click Developer >> Code >> Visual Basic.
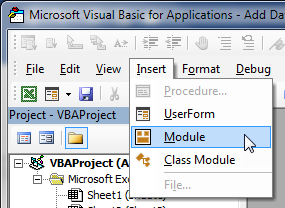
- In the Project Window of the VBE, right-click the ThisWorkbook object and click Insert >> Module on the shortcut menu.

Alternatively, on the menu bar click Insert >> Module:
- In the new module enter the following procedure:
|
1 2 3 4 5 6 7 8 9 10 11 12 13 |
Sub addRowData() Dim tableName As ListObject Set tableName = ActiveSheet.ListObjects("Employees") Dim addedRow As ListRow Set addedRow = tableName.ListRows.Add() With addedRow .Range(1) = "00006" .Range(2) = "Nelson Biden" .Range(3) = "Research" .Range(4) = "30/11/2002" .Range(5) = 150000 End With End Sub |
- Save the procedure and save the workbook as a macro-enabled workbook.
- Place the cursor anywhere in the procedure and press F5 to run the code. Alternatively, we can click the Run button on the toolbar:

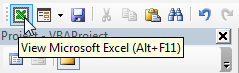
- Press Alt + F11 to switch back to the active worksheet to see the results of the procedure. Alternatively, we can click the View Microsoft Excel button on the toolbar.
We can see that a new row of data has been added to the bottom of the table:
Additional information and explanation of the procedure
- The ListObject object represents an Excel table. It is a member of the ListObjects collection which contains all the list objects or Excel tables on a worksheet.
- The tableName variable is declared as a ListObject type.
- Set tableName = ActiveSheet.ListObjects(“Employees”). The Employees table is assigned to the tableName variable using the Set keyword.
- The ListRow object represents a row in the Excel table. It is a member of the ListRows collection which contains all the rows in a list object or Excel table.
- The addedRow variable of the ListRow object type is declared.
- Set addedRow = tableName.ListRows.Add(). A new row is added to the Employees table using the ListRows.Add method. This row is then assigned to the addedRow variable using the Set keyword.
- The ListRows.Add method takes two optional arguments: Position and AlwaysInsert. The Position argument is of Integer data type and specifies the relative position of the new row.
- The AlwaysInsert argument is of Boolean data type. It specifies whether to always shift data in cells below the last row of the table when the new row is inserted regardless of the row below the table being empty. If TRUE, cells below the table will be shifted down one row. If FALSE, if the table below the table is empty, the table expands to occupy that row without shifting the cells below it. If the row below the table contains data, those cells are shifted down when the new row is inserted.
- If the Position argument is not specified, a new row is added to the bottom of the table. If the AlwaysInsert argument is not specified, the cells below the table will be shifted down one row because TRUE is the default value.
- Since we didn’t specify any arguments for the ListRows.Add method, the new row is added to the bottom of the table and the cells below the table are shifted down one row. We are not able to see this shift because the cells are empty.
- The specified data is finally set to each of the cells of the inserted row.
Example 2: Insert a new row to a specific position in an existing table and add data
In this example we will use the following table named Employees2:
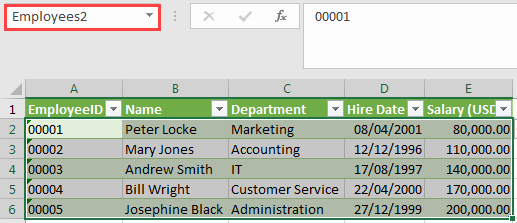
In this example, we are going to insert a new row to the relative position 3 of the Employees2 table and set new employee data to its cells.
We use the following steps:
- In the active worksheet that contains the Employees2 table, press Alt + F11 to open the Visual Basic Editor.
- Insert a new module and type in the following procedure:
|
1 2 3 4 5 6 7 8 9 10 11 12 13 |
Sub addRowDataSpecific() Dim tableName As ListObject Set tableName = ActiveSheet.ListObjects("Employees2") Dim addedRow As ListRow Set addedRow = tableName.ListRows.Add(3) With addedRow .Range(1) = "00006" .Range(2) = "Nelson Biden" .Range(3) = "Research" .Range(4) = "30/11/2002" .Range(5) = 150000 End With End Sub |
- Place the cursor anywhere in the procedure and press F5 to run the code.
- Press Alt + F11 to switch back to the active sheet.
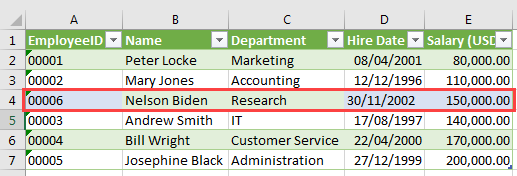
A new row has been inserted to the relative position 3 of the table and the specified data set to each of its cells.
Explanation of the procedure
The code produced this result because the Position argument of value 3 was passed to the ListRows.Add method. Since the AlwaysInsert argument was not specified, the default value of TRUE was applied and the cells of the row that was in relative position 3 of the table were shifted down one row.
Example 3: Add a new row of data to the bottom of an existing table based on user input
Unlike in the previous examples where employee data was hard-coded into the procedure, in this example, we add a new row of data based on user input.
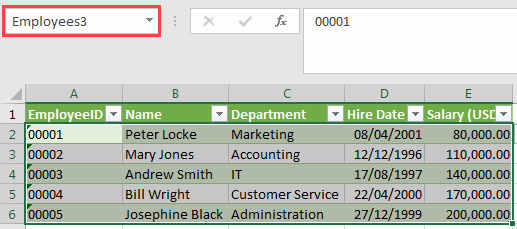
In this example we will use the following table named Employees3:
We use the following steps:
- In the active worksheet that contains the Employees3 table, press Alt + F11 to open the Visual Basic Editor.
- Insert a new module and type in the following procedure:
|
1 2 3 4 5 6 7 8 9 10 11 12 13 14 15 16 17 18 19 20 21 22 23 24 25 26 27 28 29 30 31 |
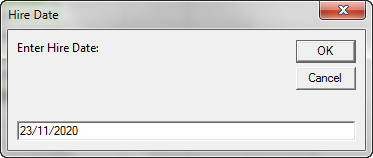
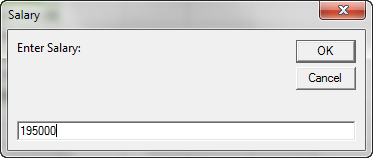
Sub addRowDataToTable() Dim tblName As ListObject Dim A, B, C, D, E, tName As String, Msg As String On Error GoTo Message tName = InputBox("Enter Name of the Table: ", "Table Name") Set tblName = ActiveSheet.ListObjects(tName) If tName = "" Then Exit Sub A = InputBox("Enter Employee ID: ", "Employee ID") If A = "" Then Exit Sub B = InputBox("Enter Employee Name: ", "Employee Name") If B = "" Then Exit Sub C = InputBox("Enter Department: ", "Department") If C = "" Then Exit Sub D = InputBox("Enter Hire Date: ", "Hire Date", "Like 22/04/2015") If D = "" Then Exit Sub E = InputBox("Enter Salary: ", "Salary") If E = "" Then Exit Sub Dim addedRow As ListRow Set addedRow = tblName.ListRows.Add() With addedRow .Range(1) = A .Range(2) = B .Range(3) = C .Range(4) = D .Range(5) = E End With Exit Sub Message: Msg = "The table was Not found." MsgBox Msg, vbCritical End Sub |
- Save the procedure and save the workbook as a macro-enabled workbook.
- Place the cursor anywhere in the procedure and press F5 to run it.
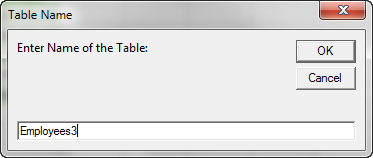
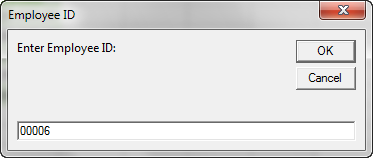
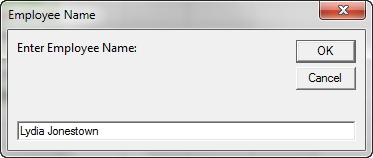
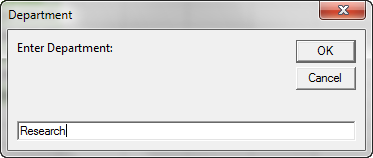
- We are prompted for different pieces of information as follows:
- Press Alt + F11 to switch back to the active worksheet.
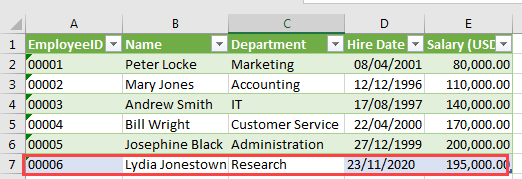
A new row with data has been inserted at the bottom of the table.
Explanation of the procedure
- The procedure uses ListRows.Add method to insert a new row to the bottom of the Employees3 table.
- The procedure uses the InputBox function to send dialog boxes to the screen that prompt different pieces of employee data.
- The different pieces of information are set to the different cells of the added row.
- The procedure uses the If Then construct to check if the Cancel button on the dialog box is pressed. If it is pressed the procedure is exited without doing anything.
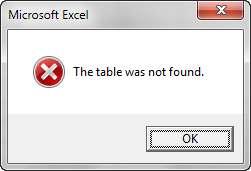
- Error handling is incorporated such that if we enter the name of a non-existent table in the Table Name dialog box, a message box pops up displaying the message, “The table was not found”.
Example 4: Change or update data in an existing Excel table
We can use Excel VBA to change or update data in an existing Excel table. We will use the following table named Employees4 to show how this can be done.
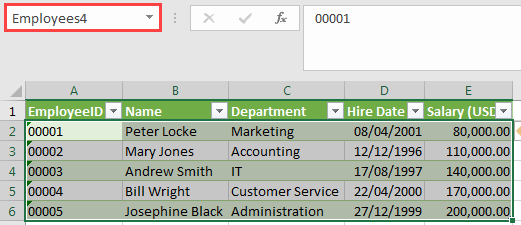
Suppose Andrew Smith has been moved to the Production department.
We use the following steps to update the dataset:
- In the active worksheet that contains the Employees4 table press Alt + F11 to open the Visual Basic Editor.
- Insert a new module and type in the code below:
|
1 2 3 4 5 6 7 8 9 10 11 12 13 |
Sub updateDataInTable() Dim tableName As ListObject Set tableName = ActiveSheet.ListObjects("Employees4") Dim addedRow As ListRow Set addedRow = tableName.ListRows(3) With addedRow .Range(1) = "00003" .Range(2) = "Andrew Smith" .Range(3) = "Production" .Range(4) = "17/08/1997" .Range(5) = 140000 End With End Sub |
- Save the procedure and save the workbook as a macro-enabled workbook.
- Place the cursor anywhere in the procedure and press F5 to run it.
- Press Alt + F11 to switch back to the active workbook.
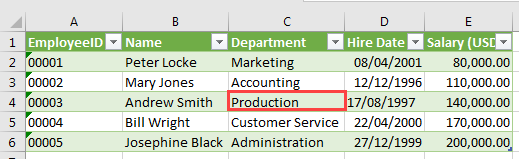
The Department for Andrew Smith has been updated accordingly.
Explanation of the procedure
- Set addedRow = tableName.ListRows(3). This procedure uses the ListObject.ListRows property instead of the ListRows.Add method we used previously. The ListObject.ListRows property returns a ListRows object that represents all the rows of data in the ListObject object/Excel table. In this case the ListObject.ListRows property returns the third row of the Employees4 table.
- The returned row is assigned to the addedRow variable.
- The updated data is set to the cell of the third row that contains Department data.
How to add column(s) to an existing table using Excel VBA
We can insert one or multiple columns into a table using Excel VBA.
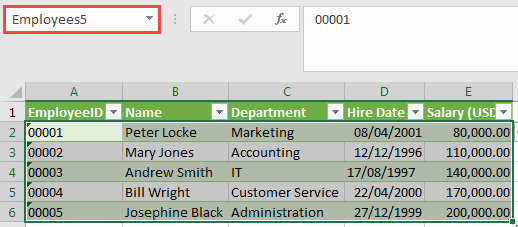
We will use the following table named Employees5 to explain how this can be done.
Example 1: Insert a single column
To insert a new column before column B that contains employee names, we do the following:
- In the active sheet that contains the Employees5 table press Alt + F11 to open the Visual Basic Editor.
- Insert a new module and type in the following procedure:
|
1 2 3 |
Sub insertSingleColumn() ActiveSheet.Range("B2").EntireColumn.Insert End Sub |
- Save the procedure and save the workbook as a macro-enable workbook. The procedure uses cell B2 but any other cell reference in column B would do.
- Place the cursor anywhere in the procedure and press F5 to run it.
- Press Alt + F11 to switch to the active workbook.
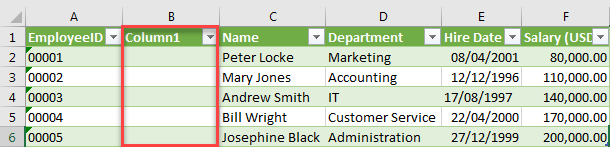
A new column has been added before the Name column.
Example 2: Insert multiple columns
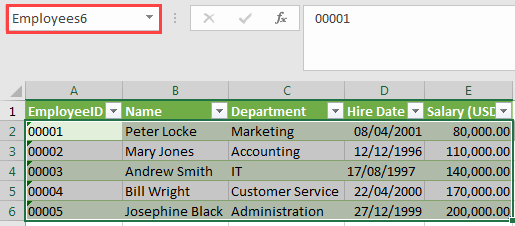
We can insert two columns before the Department column in the Employees6 table below:
Using the steps outlined previously, we enter the following code in a new module:
|
1 2 3 4 5 6 7 8 |
Sub insertMultipleColumns() Dim insertColumns As Integer Dim i As Integer insertColumns = 2 For i = 1 To insertColumns ActiveSheet.Range("C3").EntireColumn.Insert Next i End Sub |
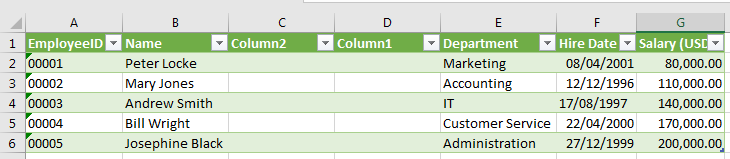
When we run the code, two columns are inserted before the Departments column as seen below:
Explanation of the procedure
The procedure uses For Next loop. Every time the loop iterates, the Insert method of the EntireColumn property inserts a column before the indicated cell C3. In this case, the method inserts 2 columns because the loop iterates 2 times. If we want to insert more columns, we need to update the number we assign to the insertColumns variable.
Example 3: Insert a column after a fixed interval
We can use Excel VBA to insert one or more columns in a table after a fixed interval.
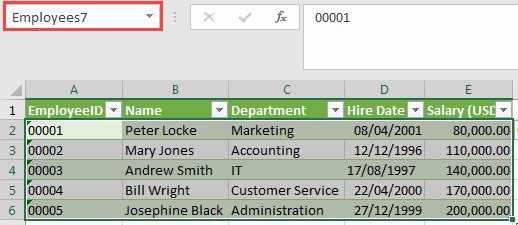
We use the Employees7 table to demonstrate how this works.
Using the steps outlined previously, insert the following procedure in a new module:
|
1 2 3 4 5 6 7 8 9 10 11 12 13 14 |
Sub insertColumnAfterInterval() Dim Interval As Integer, insertColumns As Integer Dim Count As Integer, i As Integer, j As Integer Interval = 1 insertColumns = 2 Count = 0 For i = 1 To ActiveSheet.UsedRange.Columns.Count - 1 Count = Count + Interval + 1 For j = 0 To insertColumns - 1 Count = Count + j ActiveSheet.UsedRange.Cells(1, Count).EntireColumn.Insert Next j Next i End Sub |
When we run the procedure, 2 columns are inserted into the table after each column in the dataset.

Explanation of the procedure
The procedure used 2 nested For Next loops. When the outer loop runs once, the inner loop runs twice to insert 2 columns.
If we want, we can assign different numbers to the Interval variable to achieve different results.
Example 4: Use the ListColumns.Add method to insert a column to a table
We can use the ListColumns.Add method to add columns to a table.
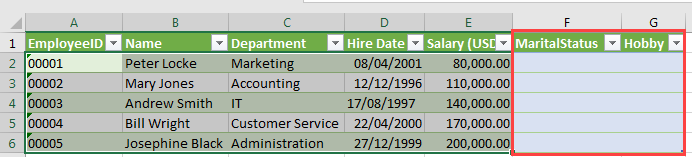
We will use the following table named Employees8 to explain how this method works:
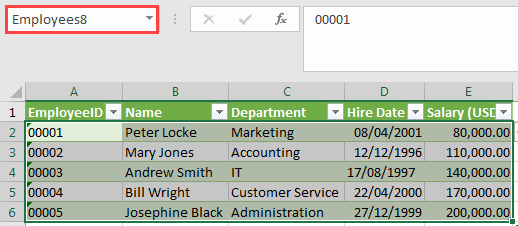
We want to insert two columns into the table, one with the header MaritalStatus and the other with the header Hobby.
Using the steps outlined previously we insert a new module and key in the following procedure:
|
1 2 3 4 5 6 7 8 |
Sub addColumn() Dim ws As Worksheet Set ws = ActiveSheet Dim tbl As ListObject Set tbl = ws.ListObjects("Employees8") tbl.ListColumns.Add(6).Name = "MaritalStatus" tbl.ListColumns.Add.Name = "Hobby" End Sub |
When we run the procedure, two columns are inserted at the end of the table.
The explanation for the ListColumns.Add method is similar to the one that was previously given for the ListRows.Add method.
Conclusion
In this tutorial, we have looked at several ways that Excel VBA can be used to add data to a table and insert rows and columns into an existing table.