As you are probably aware, Visual Basic for Application (VBA) has virtually limitless options for automating Office files, especially Excel.
When writing our code, there are several things that we can do to clean up and speed things up. In the example below, we will show how we can clear selection in VBA, whether it is a left-out selection after copying and pasting data or simply clearing a certain selected range.
Clearing Selection When Copying
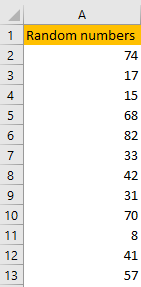
For our example, we will use a random set of numbers, and we will put the numbers in column A:

The goal now is to copy this data (located in Sheet1), to a different sheet (the sheet that we will name Sheet2). To do this, we will open the VBA by pressing ALT + F11 on our keyboard, and then we will right-click anywhere on the left side of the window that opens, and choose Insert >> Module:

When we do this, we will have a new window opened on the right side. There, we will insert the following code to copy and paste data from Sheet1 to Sheet2:
|
1 2 3 4 5 6 |
Sub Copy_Paste() Sheets("Sheet1").Activate Range("A1:A13").Copy Sheets("Sheet2").Activate Range("A1").PasteSpecial End Sub |
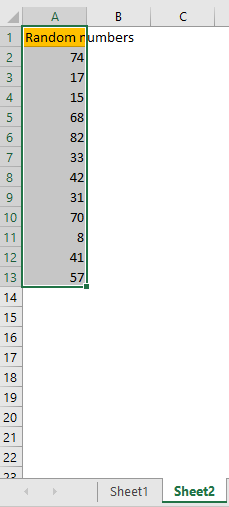
When we execute this code by pressing F5 on our keyboard while in the module, our data will be copied in Sheet2:

When we return to Sheet1 now, we will notice that, after the code execution, our data in Sheet1 is still selected:

Luckily, there is a great option to clear this selection. This part of the code not only removes this issue but also speeds up our code, which is especially helpful if we have a large code.
All we need to do is to insert the following line at the beginning of our code:
|
1 |
Application.CutCopyMode = False |
This instruction makes sure that selection is removed when data is copied or cut. As this line of code relates to the application (Excel) as a whole, we need to make sure to revert this when we finish executing the code. For this, we only need to add:
|
1 |
Application.CutCopyMode = True |
At the end of the code. This is our code now:
|
1 2 3 4 5 6 7 8 |
Sub Copy_Paste() Application.CutCopyMode = FALSE Sheets("Sheet1").Activate Range("A1:A13").Copy Sheets("Sheet2").Activate Range("A1").PasteSpecial Application.CutCopyMode = TRUE End Sub |
And this is what it looks like in our module:

When we execute the code again, we will not have data in Sheet1 selected any longer:

Clearing Selected Range
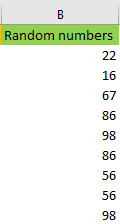
Apart from clearing the selection when copying, we can also clear any range, by selecting it and then clearing it. The code for this is pretty easy. Let us suppose that we have random numbers in column B (range B2:B10):

This will be our code to clear said data:
|
1 2 3 4 5 |
Sub Clearing_Data() Sheets("Sheet1").Select Range("B2:B10").Select Selection.Clear End Sub |
In the module, the code is as follows:

Once we execute this code, we will not have the data in range B2:B10.
