As you are probably aware by now, anything that can be done in Excel, either automatically or manually, can be done through Visual Basic for Application (VBA). We can do that with both simple and complex things.
In the example below, we will show how to automate one of the simple ones- moving columns using VBA.
Move Column Using Excel VBA
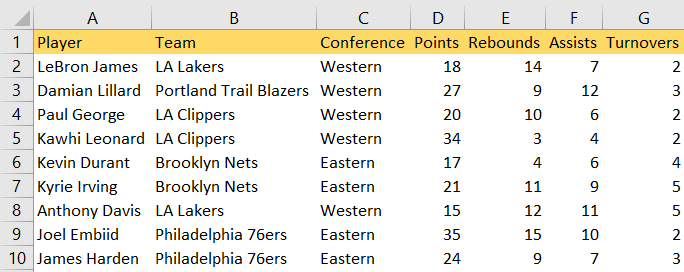
For our example, we will use the list of NBA players, and their statistics from several categories: points, rebounds, assists, and turnovers:
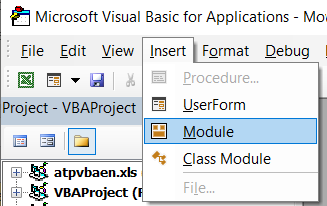
To open the VBA, we will click ALT + F11 on our keyboard. Once we do, we will choose Insert >> Module in the window that appears:
On the new window that appears once we do this, we will insert the following code:
|
1 2 3 4 5 6 7 8 |
Sub MovingColumn() Dim OriginalColumn As Range Dim MovedColumn As Range Set OriginalColumn = Range("A:A") Set MovedColumn = Range("H:H") OriginalColumn.Cut Destination:=MovedColumn End Sub |
What we do to move columns is basically cut and paste the column. Our code declares two variables: OriginalColumn and MovedColumn as range. Then we set them to the column that will be copied (and deleted) and the second one where our data will be posted.
For the most critical part, we will cut the OriginalColumn. In VBA, cut and destination are connected so that we will declare the destination in the same row.
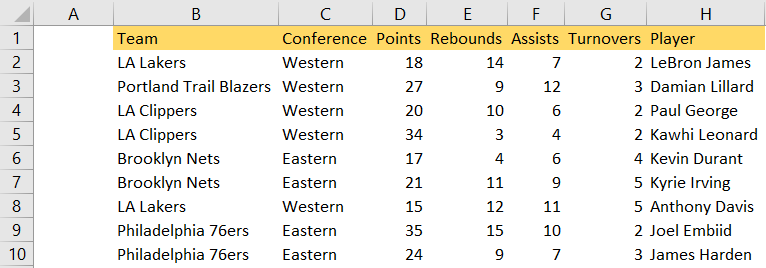
When we execute the code by pressing F5 on our keyboard, this will be our result:
We can also add some tweaks to our code so that the user has input boxes to choose the column to copy and the destination column as well.
The code will be as follows:
|
1 2 3 4 5 6 7 8 9 10 11 12 13 14 15 16 17 18 19 20 |
Sub MoveColumnWithInput() Dim OriginalColumn As Range Dim MovedColumn As Range On Error Resume Next Set OriginalColumn = Application.InputBox("Select the original column:", Type:=8) On Error GoTo 0 If OriginalColumn Is Nothing Then MsgBox "No original column selected." Exit Sub End If On Error Resume Next Set MovedColumn = Application.InputBox("Select the moved column:", Type:=8) On Error GoTo 0 If MovedColumn Is Nothing Then MsgBox "No moved column selected." Exit Sub End If OriginalColumn.Cut Destination:=MovedColumn End Sub |
What this code does, is declared the two variables: OriginalColumn and MovedColumn as a range. Then it sets the OriginalColumn to be equal to the result of the InputBox that the user will select. The type of the InputBox is 8, which is the number to return the range object.
We also added the On Error Resume Next part in case the user does not select any column. In this case, we will exit the code. In this case, if the user did not select anything, then the message “No original column selected” will appear.
If we test this (execute the code by pressing F5 on our keyboard (and get the following message):
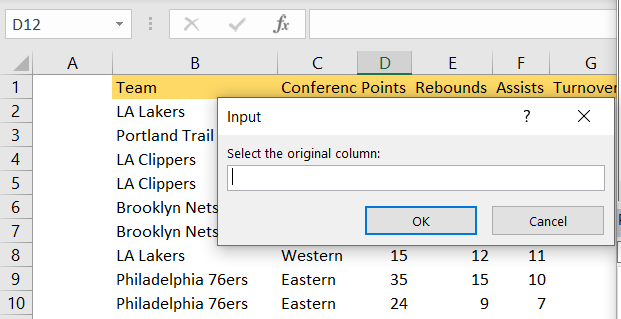
And then choose Cancel or X button, we will get the following message:

And we would exit the code. If we did however, choose the original column, but not the one in which the data from that column will be moved, then we would get the input box for choosing the “Moved” column. Again, we have an error handler and the message box: “No moved column selected” in case the user has not selected the destination column.
We basically copy the code for both columns and error handlers.
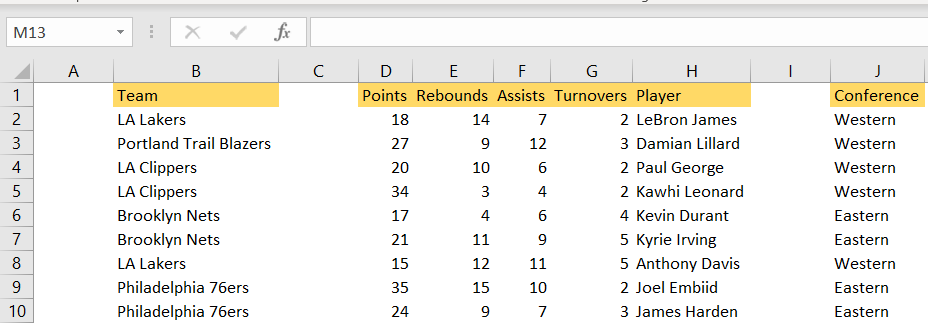
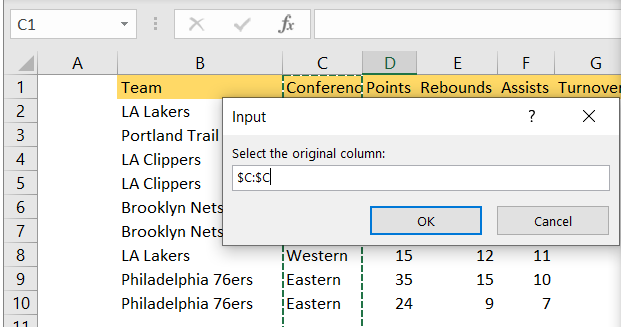
In case everything went smoothly, i.e. user selected column C (for example):
Then click OK, and choose the column where the data will be copied (in our case, column J):
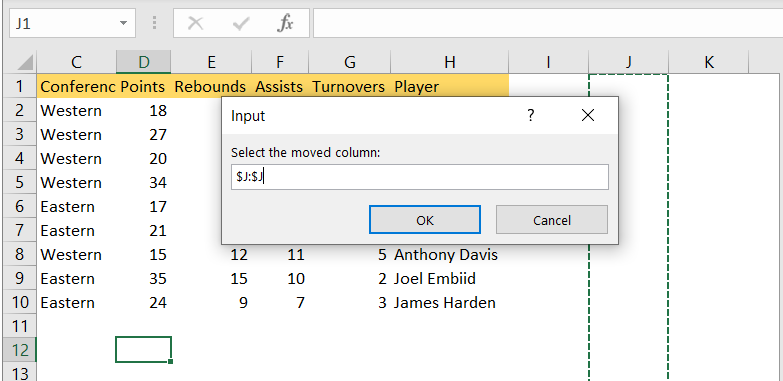
We would end up without the data in column C, and with the same data in column J: