Visual Basic for Application (VBA) is a useful tool for automating the processes and work itself in Excel. There are a lot of built-in helpful tools in it that can be used for improvement in VBA itself.
A perfect example of this is ActiveX Controls. In the example below, we will show one of ActiveX Control, and that is Toggle Button.
Create and Use Toggle Button in VBA
In VBA, the toggle button shows us a certain state, and it gives the user an option to change the setting between the two states. It is used to show YES/NO or ON/OFF options, and on click, it enables or disables the desired state.
We can use the toggle button for multiple things such as for hiding/unhiding rows, columns, and charts, it can serve as a replacement for two radio buttons. All in all, it allows users to select one option between two states.
To make a toggle button, the first thing we need to do is to add the Developer tab to our list of tabs. To do so, we need to right-click anywhere on our ribbon, and then choose Customize the Ribbon option:

Once the window opens, we will go to the right side and click on the button next to the Developer:

Then we will simply click OK, and the Developer tab will be added. Once added, we will go to this tab, then go to Controls >> Insert >> Toggle Button:


Once we have the Developer tab, we need to go to it, then go to Controls >> Insert >> Toggle Button:

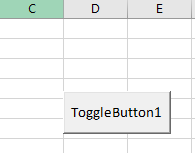
When we click on it, we will be able to drag and drop and position our button. In our case, we will position it somewhere between columns D and E:

Once created, we can change the name and size of the button. To do this, we will go back to our Developer tab, and then choose Design Mode in Controls:

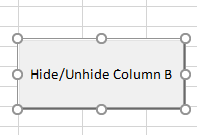
Once on it, we will change the name of the toggle button to be “Hide/Unhide Column B”:

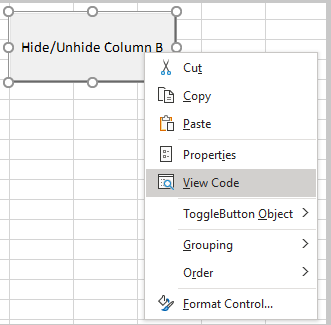
Because that is what the code that we will add is going to do (hide/unhide column B). To add the code to the button, we right-click on it and choose View Code, while in design mode:

We will immediately be directed to the VBA editor, where we will insert the following code:
|
1 2 3 4 5 6 7 |
Private Sub ToggleButton1_Click() If ToggleButton1.Value = TRUE Then Columns("B:B").Hidden = TRUE Else Columns("B:B").Hidden = FALSE End If End Sub |

You will notice a couple of things. First, code is created at the sheet level. Secondly, on the upper right side, we can see that our code in the toggle button will be executed on click. Third thing, although we did change the name of the button, the name of our button in the system is “ToggleButton1” and we use this name in the code.
For the code itself, we have a very simple If function that defines that when we press the button the first time, we will hide column B, and when we press it again, we will show it again.
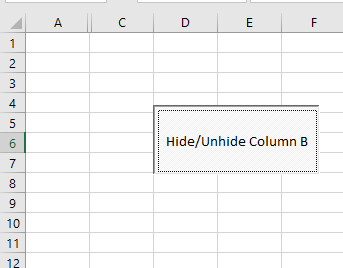
When we get back to our sheet and click on the toggle button, this is the result that we get:

It is noticeable that column B is hidden on click, as defined.
We can tweak our code in any way, and define different things that need to be done, but the whole process that needs to be conducted is the same.
